
A dog’s paws in winter: from the walk to home care
Winter paw care starts with the route and ends with a calm check at home.
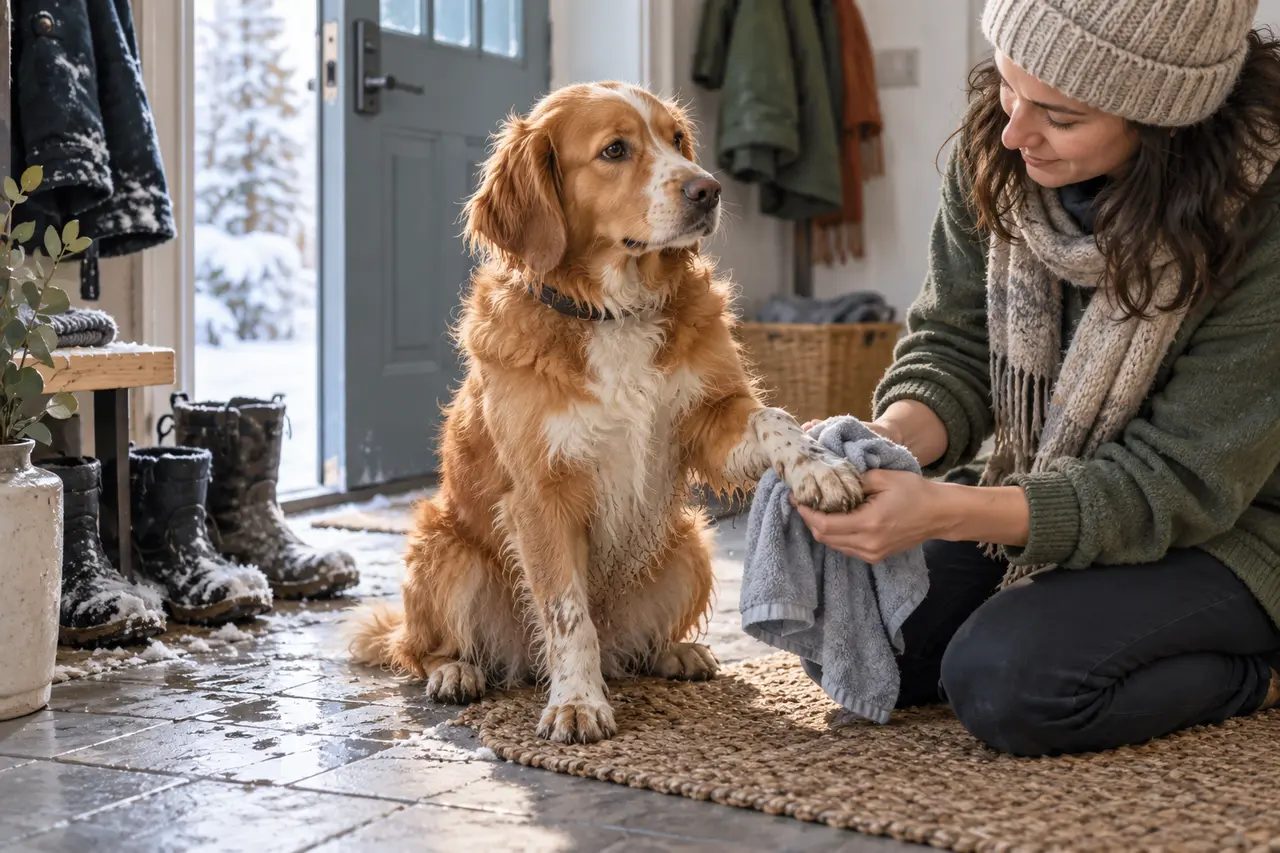
Winter paw care starts with the route and ends with a calm check at home. Size, coat and established habits influence the plan. One walking duration or a mandatory boot rule cannot suit every dog.
Look at the route
Where possible choose paths with less salt and sharp ice. Watch movement and be ready to shorten the outing. Do not force a limping dog or one repeatedly lifting its paws to complete your intended circuit. Record repeated patterns for discussion with a vet.
Prepare a care spot by the door
Have water and a soft drying towel ready. PDSA recommends washing and inspecting paws after contact with salt and grit. Be gentle between toes. Do not pull painfully at packed snow; the veterinary source recommends loosening it with warm water.
Practise protective equipment first
Boots need to fit and should be introduced calmly. Begin with a brief home trial and check the dog’s gait. Protective equipment does not automatically make an unsuitable long walk appropriate. When choosing a cream, check suitability for animals rather than substituting an arbitrary human medicine.
- Inspect pads and spaces between toes.
- Clean gently and dry.
- Notice pain, wounds and persistent licking.
- Compare reactions with the next walking route.
When to contact a vet
Persistent pain, bleeding or lameness warrants advice. PDSA warns that antifreeze is toxic: suspected ingestion calls for immediate veterinary contact rather than waiting for symptoms. Home cleaning cannot replace injury assessment. Keep ordinary and emergency clinic contacts available, and describe where the dog walked and what changed. A clear account helps the veterinary team decide what information they need next.
Related reading
How to measure your dog for a raincoat and check the fit
Sources and verification
Information checked on 30 October 2026. Recheck the source before buying or visiting.