
Store garden tools for winter: clean, inspect and give each a place
Clean spades and secateurs, separate tools needing repair and arrange dry storage. A manageable end-of-season routine for an Estonian garden.
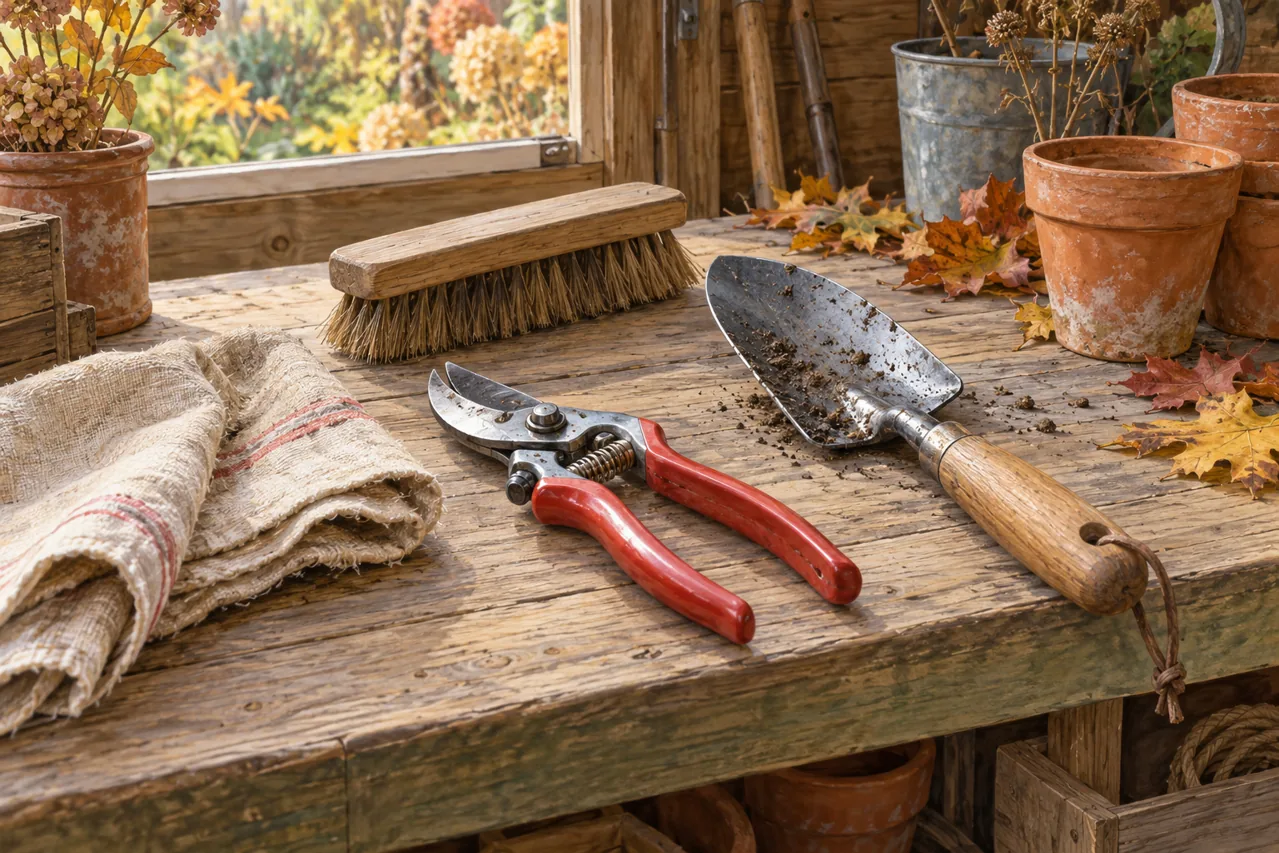
After the last muddy afternoon, it is tempting to lean the spade in a shed corner and close the door. Spring then brings the same dried soil and a forgotten question about which secateurs kept sticking. A quiet maintenance session separates cleaning from servicing and repair. This routine covers hand tools; powered equipment and batteries need their own manufacturers’ storage instructions.
Prepare a bench and three groups
Gather a brush, cloths, gloves and the care products recommended for your tools. Lay everything where handles and fixings are visible and sharp edges face away from you. Sort into three groups: ready after cleaning, needs servicing, and damaged. A clean spade with a split handle is still a damaged tool.
Check handles, fastenings and the secateurs’ catch. Record specific faults immediately. “Replacement spring for this model” is more useful next spring than “buy garden tools”. Do not test an edge with a finger or leave open blades hidden beneath cleaning cloths.
Remove dirt before applying a treatment
RHS recommends brushing soil from cultivation tools and drying tools after wet cleaning. A clean, dry surface also makes rust and defects easier to see. Oiling over mud leaves the inspection unfinished.
Use the instructions for the exact secateurs model. Do not dismantle a spring or pivot unless you understand how it goes back together. Cleaning is not the same as disinfection where that is needed: investigate an appropriate method separately after working on diseased plants. Avoid mixing cleaning chemicals or applying an unfamiliar solution without checking its suitability for the blade and handle materials.
Make a separate decision for each tool
Once dry, check that the pivot moves smoothly and the fixing holds securely. Use only a suitable lubricant and remove excess residue. Sharpening requires the correct technique; if you do not know the cutting angle, ask a competent service provider. An end-of-season tidy should not create a damaged blade.
Label faulty items and keep them apart from usable tools. Add a model number and the required replacement part where identifiable. Check whether repair is possible before buying a replacement. A small repair box prevents damaged equipment from silently returning to the working collection.
Make the storage arrangement obvious
Choose a dry position where sharp edges do not project into a walkway and opening the door cannot dislodge tools. Keep the brush and cloth nearby so cleaning is convenient after occasional winter jobs too. A shelf label or photograph of the organised wall helps everyone return things to the right place.
Finish with a short spring list: ready, repair needed, instructions missing. The outcome is dry equipment with a known condition and a clear next step. It does not require replacing the whole collection or turning the shed into a workshop.
Sources
Prepared 1 November 2026. The image is an AI-generated illustration.