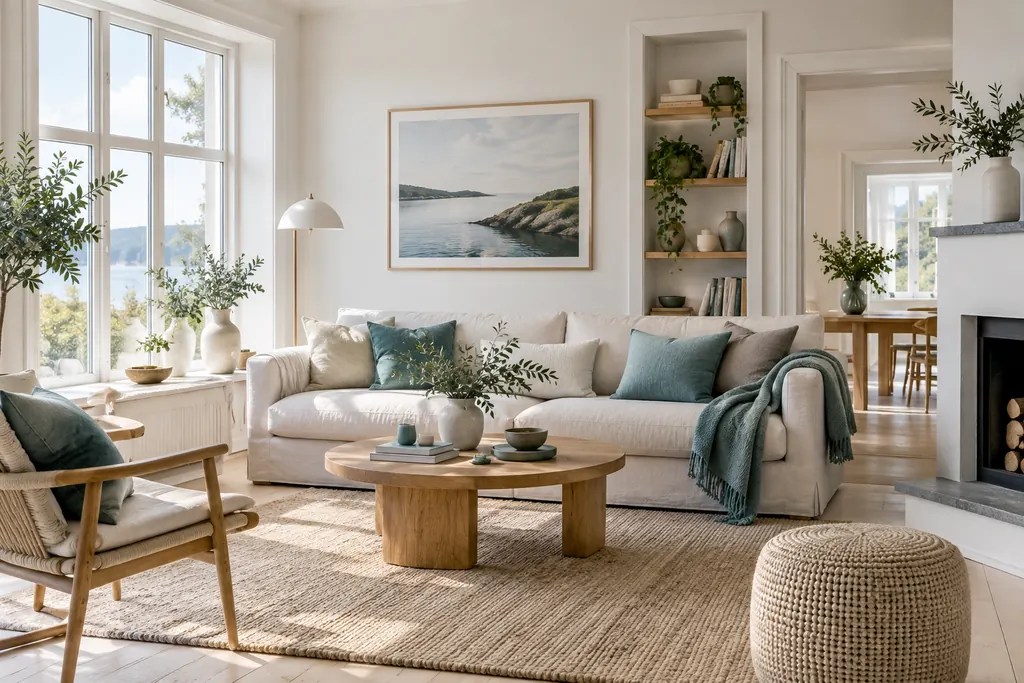
Photograph a property clearly with your phone
Property photographs should explain the space. Extreme wide angles and heavy editing can create a misleading impression.
Good property photographs help a viewer understand the rooms, their proportions and how they connect. A phone can produce a useful series when the space is prepared, the light is manageable and each image has a clear purpose. The goal is an accurate visual explanation of the apartment, not the widest or most dramatic picture possible.
Prepare the room before opening the camera app. Then work through a short shot list, inspect the images at a useful size and select a coherent sequence. The following process is intended for an ordinary home listing; difficult lighting or a complex property may justify a professional photographer.
Decide what each photograph needs to explain
List the main rooms and relevant additional spaces. For each, choose an overall view that explains the layout, then decide whether a second angle adds information. A photograph showing the route from the living room to the kitchen can be more useful than another nearly identical picture of the sofa.
Include features that matter to everyday use, such as a practical work area, balcony access or storage included in the offer. Show them in context so the viewer understands where they are. Close-ups may supplement the sequence, but they should not replace the views needed to understand the home.
Compare the proposed series with the apartment floor plan. If the images suggest a different connection between rooms, consider another angle or a clearer sequence. The pictures and plan should help the same story make sense, rather than leave the viewer guessing which doorway leads where.
Prepare the room without changing its meaning
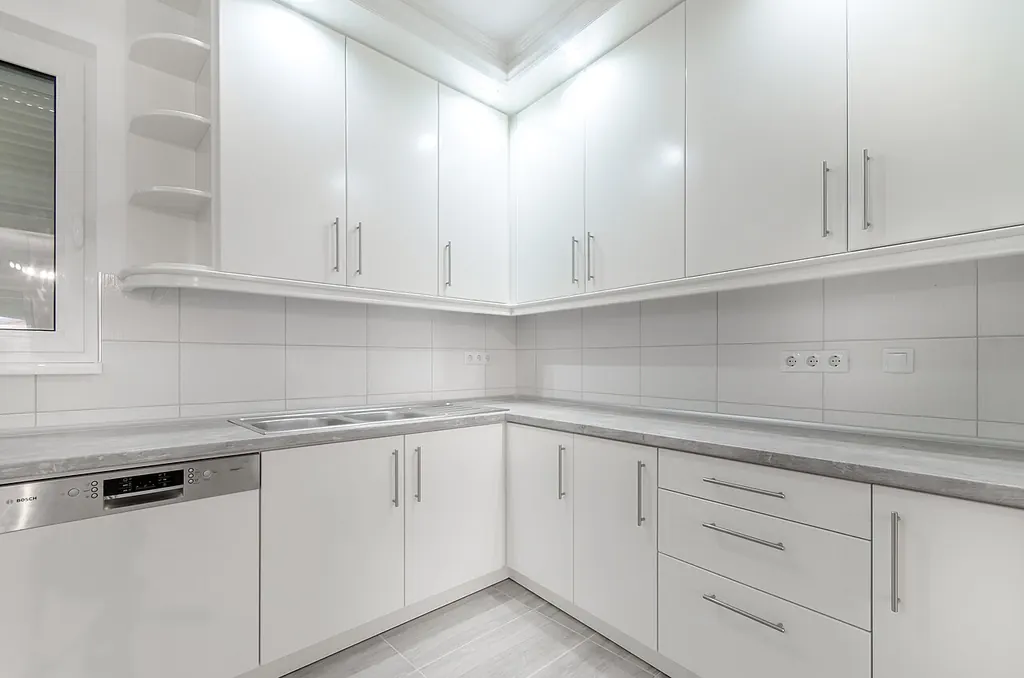
Clear unnecessary objects from working surfaces and walking routes. Straighten items already in the room, clean visible glass and remove the cleaning equipment afterwards. Keep enough normal furnishings to communicate use and scale. Preparation should reveal the apartment, not disguise what it is like to live there.
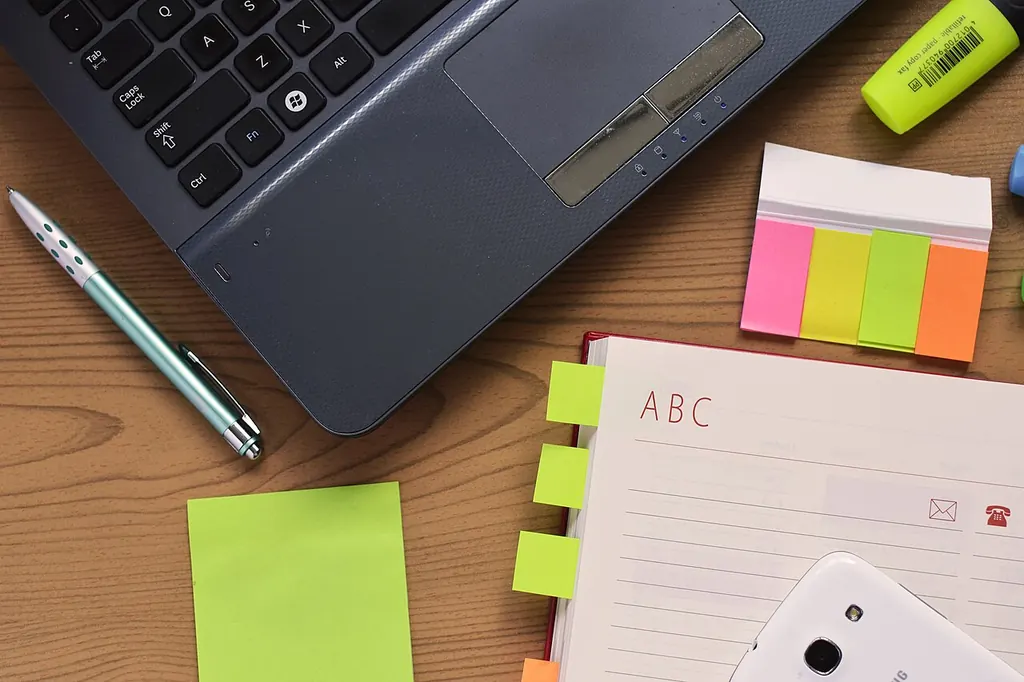
Remove private documents, names, account details and other information you do not want published. Check computer screens, calendars, children’s items and reflections. You may need to move a personal photograph or turn a screen off even when it seems small in the viewfinder.
Do not cover defects purely to keep them out of the listing. Avoid placing furniture so it hides a relevant condition that a visitor needs to understand. The sale preparation guide explains how to separate cleaning and ordinary maintenance from unresolved issues that need proper attention.
Choose the time by the room’s light
Walk through the apartment before taking the full series. Observe when the rooms have usable daylight without an extreme contrast between a bright window and a dark interior. The best moment may differ between rooms, so the whole property does not always need to be photographed in one uninterrupted pass.
Open window coverings where doing so represents the room sensibly. Try the existing lights and compare the result. If they produce strongly different colours across the room, decide whether daylight alone gives a clearer image or whether a different time would help. Do not assume that switching on every light always improves the photograph.
Take a test image and inspect the room and window together. If one is completely unreadable, change the viewpoint, light or timing before relying on editing. A phone cannot recover detail that was not captured adequately simply because an automatic enhancement button is available.
Set up the phone for a consistent series
Clean the camera lens with a suitable method and make sure storage and battery capacity are sufficient. Use the normal photo mode as a starting point. Effects intended to blur backgrounds can remove useful room detail, while strong styles may change the apparent colours of walls and finishes.
Use the camera’s grid or level if available. On iPhone, Apple’s camera tools guide explains enabling Grid and Level and adjusting focus and exposure. Other phones have different controls, so check the instructions for the device you are using.
Choose an image orientation and framing approach that suit the destination, while preserving the original files. Do not use screenshots of your own photographs as the master copies. Keep enough room around important features for modest later cropping, but avoid filling most of the image with an uninformative ceiling or floor.
Keep the camera level and the proportions believable
Begin from a position that shows the room clearly without pressing the phone into a corner. Hold it steadily and check vertical edges such as doors and cabinets. Tilting strongly upwards or downwards can make those lines converge, changing how the room appears.
Try moving your position before selecting the widest camera view. An ultra-wide view can include more of the room, but objects near the edges may look stretched and close objects may dominate. Compare the result with the room in front of you. If a small cabinet looks unusually broad or a short room appears like a long corridor, choose a more restrained framing.
It is acceptable to use two clear photographs instead of one extreme view. One can show the seating arrangement while another explains the connection to the entrance. The viewer gains more from accurate complementary information than from a single image that exaggerates the space.
Focus on a useful part of the room
Check that the important surfaces are sharp rather than assuming the phone selected the intended subject. A plant close to the lens or a reflection may draw attention away from the main room. Reframe or select the appropriate focus point using your device’s controls.
Take a few deliberate alternatives instead of a large burst of nearly identical images. Change one thing at a time: camera position, framing or exposure. You will then know why one version is more useful, and selecting the final series will be easier.
For a dim room, support the phone securely and follow the device’s instructions for its available capture modes. Do not improvise an unstable support over furniture or fixtures. If repeated attempts remain blurred or inaccurate, reconsider the light or seek professional help rather than hiding the problem with aggressive sharpening.
Watch mirrors, doorways and small rooms
Before photographing a bathroom or hallway, look for yourself and the phone in mirrors or reflective surfaces. A small change of position can remove a distracting reflection while keeping the room understandable. Do not use editing to invent what was behind you or to remove structural features.
Use doorways as practical viewpoints when appropriate, but check whether the open door hides part of the room. In a compact bathroom, a clear partial view and a second complementary image may communicate the layout better than an extremely wide shot.
Check that adjacent rooms visible through a doorway are also ready. A carefully prepared living room can still show a pile of private papers in the background. Review the entire frame, including edges and reflections, before moving to the next room.
Edit to clarify what was captured
Use modest straightening, cropping and brightness adjustments where they improve readability. Compare the edited result with the original and with your memory of the room. Keep colours plausible and avoid making a dark space appear to have daylight that was not present.
Do not digitally widen rooms, remove permanent fixtures, erase relevant damage or add a view that does not exist. If virtual staging is used for a separate presentation, it should be clearly identified and should not replace an accurate view of the actual condition. For a straightforward phone listing, a clean factual series is usually easier to understand.
Apply a consistent approach across images so one room does not appear unnaturally warm and another heavily blue because different filters were used. Consistency should come from sensible capture and restrained correction, not from forcing every room to have identical light.
Select, export and check the final order
Choose the strongest informative view first, followed by a logical route through the home. Remove duplicates and photographs that add only decoration. Include all important spaces you agreed to show, and make captions factual where they are needed to explain the image.
Export copies using the listing service’s current file requirements and inspect the uploaded result. Compression and automatic cropping can change what a viewer sees. Check on both a larger screen and a phone if possible, ensuring that key details remain visible and images have not been stretched by the page layout.
Keep the originals and the final selection separately. The photo backup guide helps organise a recoverable copy, while the printing preparation guide is useful if you also need a physical presentation. Your final series should let someone arrive at the viewing already understanding the home’s layout, while leaving its real proportions and condition intact.