Clean a car interior in a sensible order
Interior cleaning is easier when loose belongings are removed first and you work from dry cleaning towards damp wiping.
A useful interior clean leaves the car easier to use: you can see through the windows, find the things you need and sit down without moving yesterday’s belongings. It does not require coating every surface with a scented product. The best starting point is to remove loose objects, identify the materials and decide how much drying time you have before the next journey.
Work in stages: sorting, dry cleaning, appropriate surface cleaning, drying and a final check. This order helps prevent crumbs from falling onto a freshly cleaned floor and avoids putting damp mats back into an otherwise finished cabin. Keep the vehicle parked securely and follow its handbook for any cleaning mode or electrical precautions relevant to the work.
Set a realistic scope
Decide whether today’s job is an ordinary tidy, a more thorough clean or the treatment of a particular spill. Those are different tasks. A car that needs to leave in an hour may have time for sorting, vacuuming and windows, but not for a wet upholstery treatment with an uncertain drying time. Choose a finish point you can actually reach.
Write down the areas that need separate attention. For example: “sticky rear cup holder, sand in boot, mark on passenger seat”. This keeps a single stubborn mark from taking over the entire session. If you cannot identify the upholstery or the cause of the mark, leave treatment pending until you have the correct guidance.
Prepare a place outside the car for removed belongings. Use separate containers for rubbish, things returning home and items that belong in the vehicle. Do not turn the pavement or an adjacent parking space into an obstacle. If you are using a shared cleaning area, organise the job so other users can still move around normally.
Empty pockets and inspect before vacuuming
Start with door pockets, cup holders, seat pockets and the boot. Collect receipts and documents for sorting rather than discarding them in a hurry. Check under seats with a light before using the vacuum: small keys, coins and missing pieces of a child’s toy can otherwise disappear into the cleaner.
Keep vehicle equipment separate from ordinary clutter. An item that is rarely used may still have a defined purpose. Before removing it permanently, check what the car and your intended journeys require. Put paperwork back in an organised folder and avoid leaving unnecessary personal information visible through the windows.
Review recurring clutter as a storage problem. If shopping bags always slide into the same footwell, decide where they should be secured or removed after use. The storage cupboard guide offers a useful principle here: give frequently used objects a place that is easier to use than the nearest empty surface.
Build a small, suitable cleaning kit
Gather a vacuum with appropriate attachments, clean soft cloths, a container for used cloths and products that are approved for the relevant materials. Keep a separate cloth for glass. A cloth that has picked up grit or greasy residue should not be used on a delicate display simply because it is still in your hand.
Read both the vehicle guidance and the product label. A car interior can contain fabric, coated leather, synthetic upholstery, trim, transparent plastics and specialised screens. Similar appearances do not guarantee identical care requirements. Do not assume that a household product, a leather conditioner or an all-purpose spray is suitable for every surface.
Volvo’s interior care instructions illustrate why material-specific guidance matters. They distinguish upholstery and trim care and warn against spraying liquid directly onto electrical controls. Use the handbook for your own model as the authority; a method listed for another vehicle is not a universal recipe.
Do the dry work first
Remove loose mats according to the vehicle instructions and clean them separately. Vacuum accessible seating surfaces, seams and floor areas with a suitable attachment and gentle contact. Move around the cabin methodically so you can tell what has already been done. A front-to-back or left-to-right sequence is more reliable than repeatedly jumping to the dirtiest-looking spot.
Before changing a seat position, check the surrounding area and keep hands and equipment clear of moving parts. Do not disconnect wiring, remove a seat or dismantle trim to reach an ordinary crumb. If something important is trapped beyond safe reach, treat retrieval as a separate job requiring appropriate help.
Finish the boot and its accessible storage areas before returning belongings. If an organiser comes out, clean the space beneath it and decide whether every item needs to go back. This is the moment to remove forgotten packaging, not after the organiser has been filled and fastened again.
Treat upholstery as a material, not a generic surface
For a fresh spill, first consult the relevant care instructions and avoid rubbing it across a larger area. Identify the substance if possible. Water, oily food and ink do not present the same problem, and a random sequence of products makes it harder to know what has already been applied.
Use only a suitable method, following its application and testing instructions. Work on a manageable area and keep track of drying requirements. Do not soak a seat in an attempt to reach an invisible stain. Heating, ventilation features, wiring and the upholstery construction are reasons to avoid improvised deep cleaning.
If you use a professional service, describe the material, stain and previous treatment honestly. Ask what can reasonably be improved and what result is uncertain. A mark may remain even after the area is cleaned; promising a completely new appearance is different from agreeing a sensible cleaning job.
Clean controls, trim and glass carefully
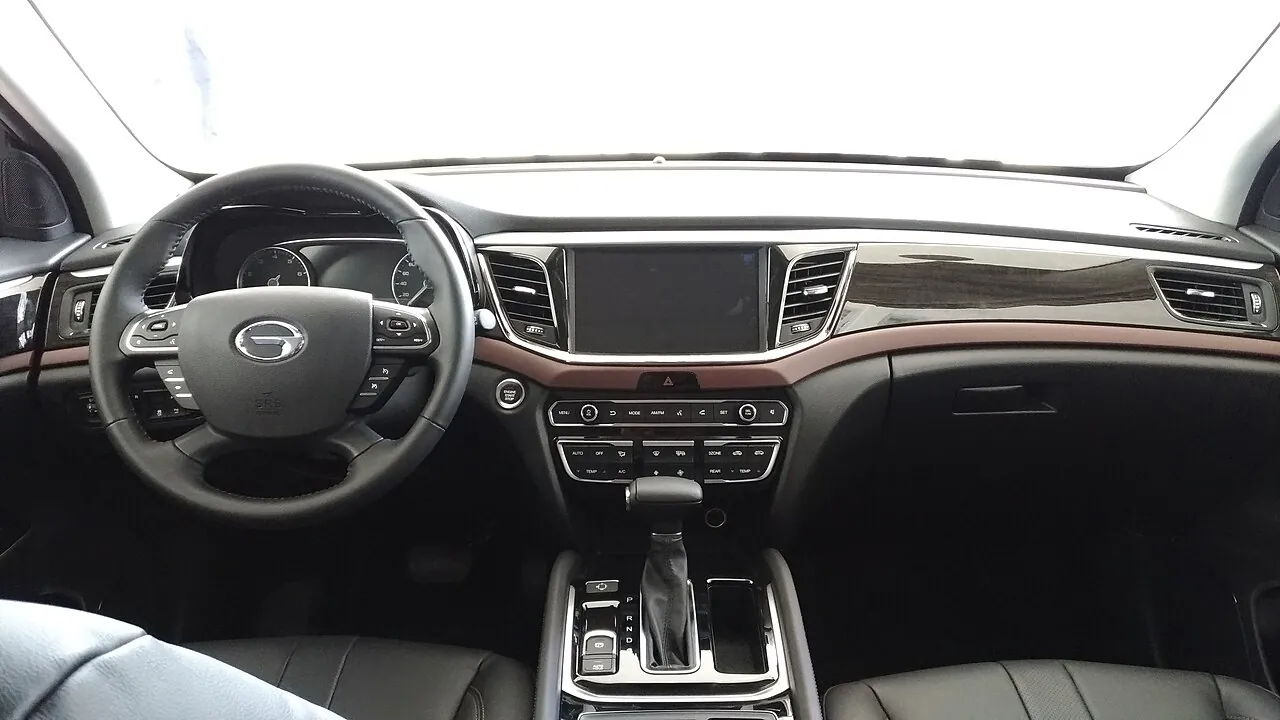
Handle displays and sensitive controls using the vehicle’s specified method. Apply an approved product as directed, using a suitable cloth rather than flooding gaps. Avoid treating vents, buttons and instrument panels as spaces that need to be filled with foam. If you cannot clean an area without introducing liquid into it, pause and check the instructions.
Inspect windows from more than one angle after cleaning. A pane can look clear from the open door but show streaks from the driving position. Use a method compatible with the glass and any coatings or film. Keep the cloth for glass separate from cloths used on dashboard treatments or greasy trim.
Check the surfaces you touch while driving. The steering wheel, controls and pedals should not be left slippery by a decorative dressing. Cosmetic shine is not a useful finishing criterion. If a product leaves an unsuitable residue, follow the appropriate removal guidance before using the vehicle.
Treat a child restraint as a separate item
A child restraint is not simply another upholstered seat. Find its exact model instructions before removing covers or cleaning straps and buckles. Britax’s cleaning guidance explains that cover care varies and warns against submerging harness straps. Instructions for a washable cover should never be assumed to apply to the whole restraint.
Allow enough time for the permitted cleaning, drying, reassembly and correct installation. Photographs may help you remember what you removed, but they do not replace the manual. If you are unsure about a part, adjustment or reinstallation, obtain appropriate assistance before the seat is used again.
For ordinary family outings, reducing loose food packaging and taking rubbish out after each trip can simplify the next clean. Build that small return-home step into your weekend plans with children. It is easier to establish a short routine than to rely on everyone remembering a major clean several weeks later.
Investigate smells instead of covering them
Start with a search for a removable source: an old food container, a damp item, forgotten rubbish or a spill that was never addressed. Note where the smell is strongest and when it appears. Those observations are more useful than trying several fragrances and losing track of the original problem.
Persistent dampness or a smell that returns after ordinary cleaning deserves further investigation. Record whether it follows rain, wet footwear or use of a particular vehicle system, and ask a suitable workshop if the cause is unclear. Cleaning the visible surface does not establish that a hidden moisture problem has been resolved.
Do not add ozone treatment, chemical fogging or improvised mixtures to a routine home-cleaning session. If a specialist treatment is proposed, ask what problem it addresses, whether it is suitable for the vehicle and what precautions and return-to-use conditions apply. A strong scent is not evidence that the underlying issue is gone.
Reassemble only when ready
Return dry mats in their correct positions using the specified fixings. Check the driver’s mat carefully: it must fit correctly and remain clear of the pedals. Do not stack an extra mat on top as a shortcut. Restore moved seats, mirrors and other relevant settings before the next journey.
Put back only the necessary belongings, secured appropriately. Close compartments and check that cleaning equipment, cloths and product bottles have all been removed. Review the cabin from the normal driving position, including visibility and access to controls, rather than judging the result only from an open passenger door.
Finish by recording any unresolved item, such as a stain requiring advice or recurring moisture. Add it to the autumn vehicle preparation checklist when relevant. A brief weekly removal of rubbish and misplaced objects can then preserve the result without turning every clean into a full detailing project.