Garden composters: placement and everyday use
Choose a composter for the material you produce and the way you will maintain it. Think about removing finished compost before buying.
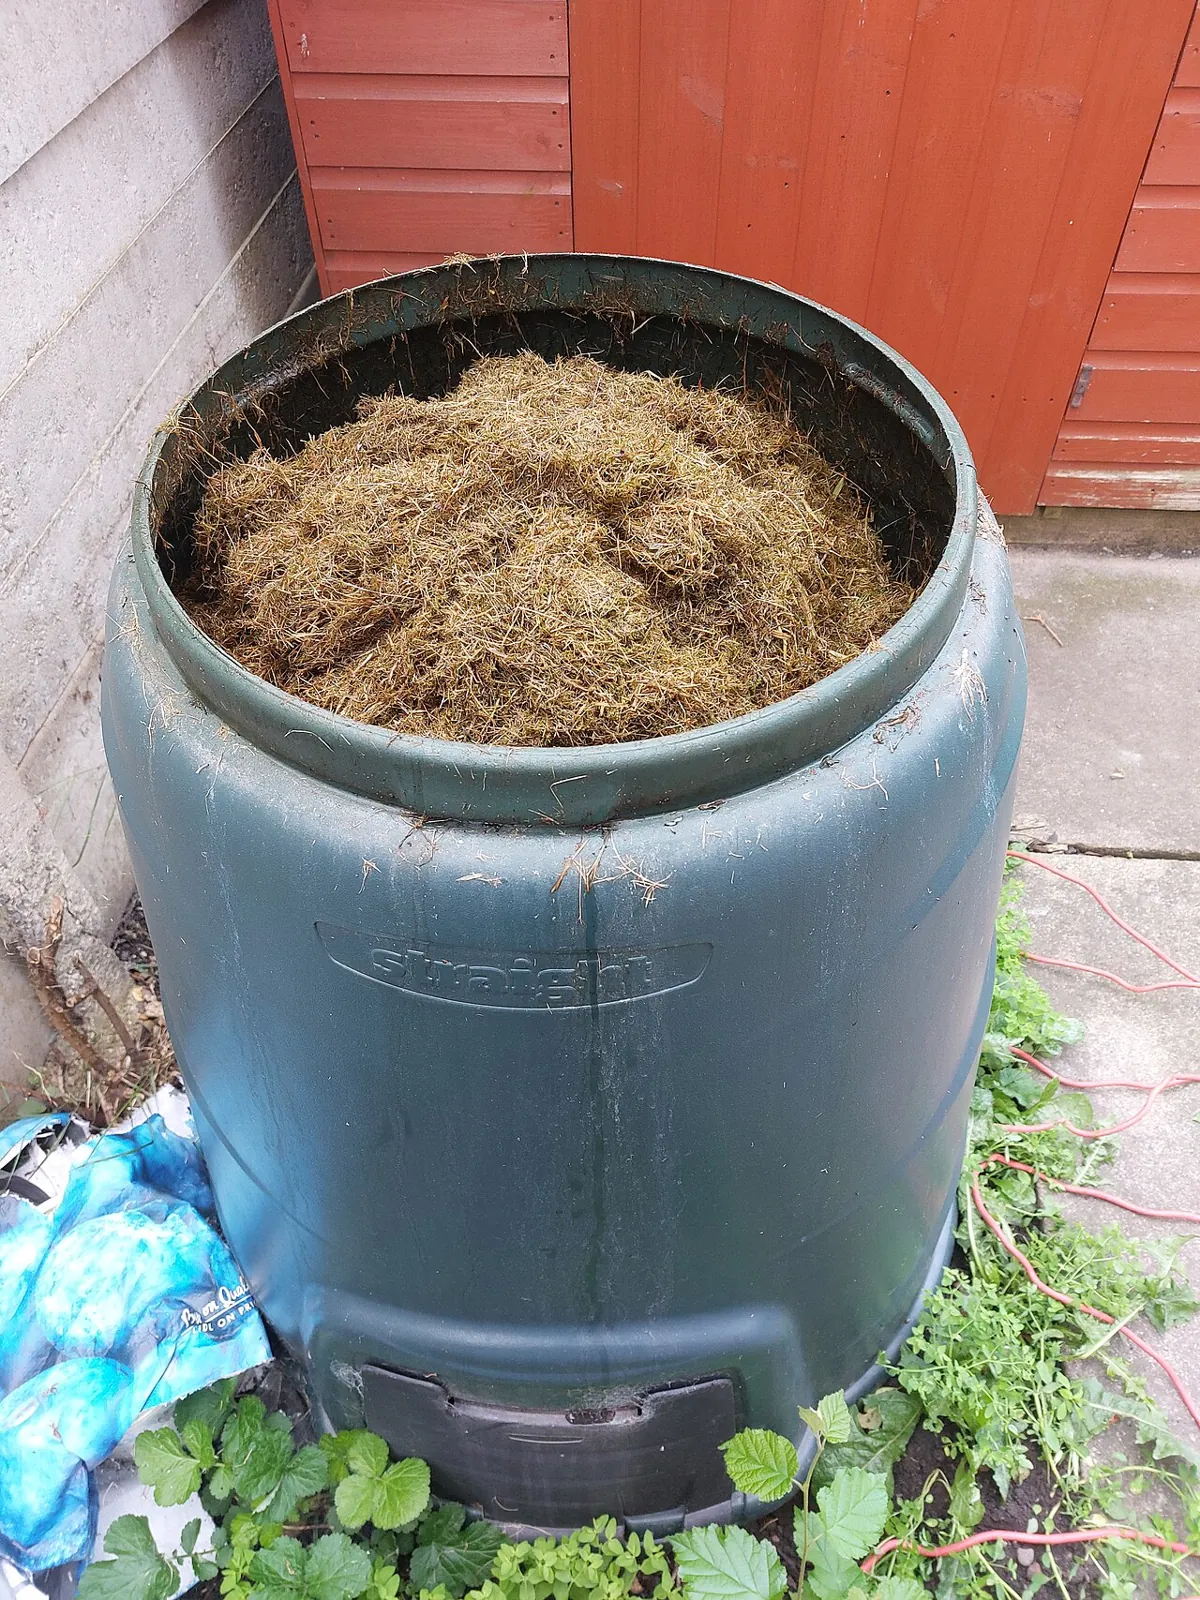
A useful garden composter fits both the material your household produces and the way you will use it. The largest advertised capacity is not automatically the best choice. You need a practical place to add material, maintain the mixture and remove finished compost without turning every visit into an awkward job.
Begin by deciding what you intend to compost. A system for garden trimmings has different practical demands from one that also receives suitable kitchen scraps. Check the current local requirements and the chosen system’s instructions before assuming a particular container can accept everything described as biodegradable.
Estimate the material, including seasonal peaks
For a normal week, note what suitable material is produced and roughly how much space it occupies. Use the same bucket or container for comparison rather than guessing from the size of rubbish bags. Add a separate note for seasonal garden material, such as a concentrated period of leaf collection or pruning.
Do not size the system from the quietest week alone. Equally, you may not need permanent capacity for every exceptional gardening job if there is another appropriate route for occasional large material. Identify the recurring flow first, then decide how seasonal excess will be handled.
For example, a small household with regular vegetable preparation but little garden material needs a reliable supply of suitable dry ingredients as well as a bin. A large garden may generate a brief bulky load that cannot sensibly be added to a compact container in one go. These are planning examples, not universal capacity calculations.
Compare the opening, access and emptying method
Look beyond the exterior dimensions. Check whether the lid opens easily in the intended position and whether the opening suits the containers you will empty into it. A tall unit under a low branch may fit on the ground but be frustrating to use every day.
Understand how finished material is removed. A small hatch, removable front or lifting body creates different access requirements. Imagine using the actual tool and receptacle you own. Leave enough space in front for the task rather than placing the composter tightly between objects because its footprint happens to fit.
If considering a rotating model, assess how it is loaded and turned when filled, using the manufacturer’s guidance. If considering an insulated system, read its operating conditions rather than treating insulation as a promise of constant output. Different designs still require an appropriate mixture and workable maintenance routine.
Choose a position you will use in poor weather
Walk the route from the kitchen or garden work area with an empty collection container. Check the surface, doors and access in ordinary wet conditions. A hidden corner can look tidy while being so inconvenient that material accumulates elsewhere instead of reaching the composter regularly.
Allow working space around the unit and plan where tools and dry ingredients will stay. Follow the manufacturer’s requirements for the base, ventilation and access. Keep the arrangement compatible with neighbours, shared paths and the local rules applicable to the materials you intend to process.
Consider the next step as well as filling: how will mature compost reach the beds? A route suitable for a small bucket may not work for a wheelbarrow. The garden layout and furniture guide can help preserve separate walking, sitting and maintenance space in a compact garden.
Understand why a mixture matters
Cornell’s explanation of compost chemistry describes the roles of carbon-rich and nitrogen-rich materials and the need for oxygen. Dry woody ingredients and fresh soft material contribute differently. A bin filled repeatedly with only one type does not automatically become a balanced system simply because all its contents came from the garden.
Translate this into a convenient setup: keep appropriate dry material beside the active system so it can be added when needed. Do not wait until the bin is inconveniently wet or compacted before looking for something to mix with the latest additions. Storage for ingredients is part of the design, not an optional afterthought.
Use the instructions for your method as the starting point and adjust according to the mixture’s condition. Avoid treating a chemical carbon-to-nitrogen ratio as if it were a direct number of household buckets. Different materials have different density and composition, so the meanings of those measurements are not interchangeable.
Keep unsuitable material out at the collection stage
For an ordinary backyard system, the US EPA guide lists plant scraps, dry leaves and suitable plain paper or cardboard, while excluding materials such as pet waste, treated wood, meat and dairy. It also distinguishes home composting from commercial processing. Follow your local arrangements and system instructions for the actual material stream.
Make the household collection point clear. Remove packaging and produce stickers before scraps enter it, and keep a separate route for anything the system does not accept. A small labelled reminder near the collection container is easier than trying to remove unsuitable objects after they have been mixed into the garden bin.
Be cautious with packaging labelled compostable: the wording does not by itself establish suitability for your home process. Check the stated conditions and the receiving system’s acceptance. When uncertain, use the appropriate local disposal route rather than adding an unidentified material and hoping it disappears.
Maintain moisture and air without overcomplicating the job
Cornell’s compost physics guidance explains that excessive moisture and compaction restrict the conditions needed for aerobic decomposition, while material that is too dry also slows activity. Particle size, air and water work together. Maintenance should respond to the mixture you have, not merely the number of days since the last visit.
When adding material, take a moment to observe the existing contents. Is the mixture a dense wet mass, unusually dry or unevenly combined? Use the maintenance approach appropriate to the bin, including mixing where its instructions call for it. Do not force a tool through a design in a way that damages the container.
For a wet compacted mixture, the practical response is to restore air and combine it with suitable dry ingredients, following the system’s method. For an excessively dry mixture, add moisture gradually while mixing rather than flooding one spot. Recheck the condition before making another adjustment.
Keep a brief note if a problem recurs. Record what was added, the weather and the action taken. This helps you recognise a repeated input problem, such as a large single addition, rather than buying another product every time the same symptom returns. Persistent problems may need advice specific to the system and local conditions.
Plan where one batch finishes and the next begins
Decide how to distinguish active material from material being left to finish. Depending on the setup, that may involve separate sections or a planned pause in additions. If fresh scraps are continually mixed into everything, it becomes harder to identify a consistent finished batch for use.
The RHS composting guide describes mature compost as dark, crumbly and earthy-smelling. Readiness should be judged by the material, not a guaranteed date printed in an advertisement. Keep obvious undecomposed pieces separate for further processing as appropriate to the system.
Label the batch or section so another person understands its status. “Finishing — no fresh additions” is more useful than relying on everyone remembering a conversation. Plan a place for the finished material that keeps it distinct from raw ingredients and ordinary garden waste.
Match the finished product to a real garden task
Before producing more material, identify where suitable mature compost will be used. Garden compost is a soil amendment, not automatically a complete potting medium for every plant. Check the needs of the intended planting rather than applying the same material everywhere simply because it is available.
Use the perennial border planning guide to connect soil preparation with the plants selected for that location. Keep records of what was used where, especially if you are comparing results across beds. A simple site plan is enough; elaborate tracking is unnecessary for a small garden.
Add seasonal capacity and access checks to the autumn garden jobs plan. Decide where incoming leaves and other appropriate material will wait, and keep the route usable. A well-chosen composter is part of a complete process: collect suitable ingredients, manage them, recognise maturity and use the result where it belongs.