Plan a perennial border for your first garden
Choose perennials for the conditions and the whole growing season. Flowers on a shop display show only one moment of the year.
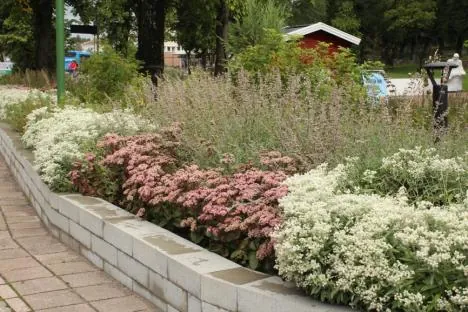
A first perennial border is easier to manage when it begins with a small, coherent plan. You do not need a long plant list or a copy of a show-garden photograph. You need to understand the site, leave room for mature growth and choose plants whose needs can be met together.
Start with one area you can prepare and maintain properly. A modest border that develops well gives you useful experience for later expansion. The method below combines measurements, a simple planting sketch and a seasonal check so that the design remains understandable after the nursery pots have disappeared.
Give the border a purpose and a clear edge
Decide where you will usually see the planting: from a window, a terrace or a path. This determines the main viewpoint and helps you choose which parts should remain visible. A border viewed from one side needs a different arrangement from an island bed seen from several directions.
Mark the proposed edge on the ground with a temporary safe marker such as a laid-out hose. Walk around it, open nearby doors and move the equipment you normally use. Check that the shape leaves workable routes rather than creating a narrow strip that is difficult to maintain.
For a first project, choose an area whose far side you can reach appropriately for care. If access is needed within a larger bed, include it in the plan from the beginning. A visually continuous planting does not have to eliminate every practical place to stand or reach a plant.
Record conditions before choosing colours
Observe sun and shade at useful times, then note the soil and the way water behaves after rain. Include the influence of neighbouring trees, overhangs and structures. Conditions may vary across a single border, so mark differences rather than assigning one label to the whole garden.
The RHS perennial growing guide recommends matching plants to growing conditions and considering mature size, foliage and season of interest. The practical implication is to choose from plants that suit the site before narrowing the visual palette, rather than trying to alter every condition to fit an attractive collection.
Write a short site description to take to a local nursery. Include the location, exposure, soil observations and the amount of ongoing care you can provide. A clear description helps obtain relevant cultivar advice for Estonia instead of selecting a plant solely because a picture shows it flowering beautifully elsewhere.
Build a small shortlist by role
Choose a limited set of roles: plants that give the main outline, plants that provide seasonal emphasis and lower growth that helps the edge read clearly. One plant may fulfil more than one role. You do not need to purchase a separate species for every space on the sketch.
For a suitably sunny, draining site, catmint can be a candidate to investigate. NC State describes Nepeta × faassenii as a spreading clump with aromatic foliage and blue-purple flowers. Check the specific cultivar’s size and local suitability; a compact name on one label does not describe every catmint available.
Another candidate for suitable conditions is Salvia nemorosa, described by NC State with upright flowering spikes and a preference for sun and well-drained soil. These examples illustrate different forms to compare, not a universal planting prescription for every Estonian garden.
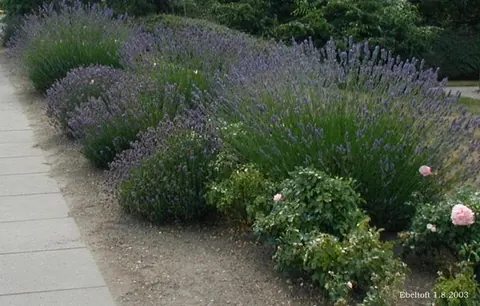
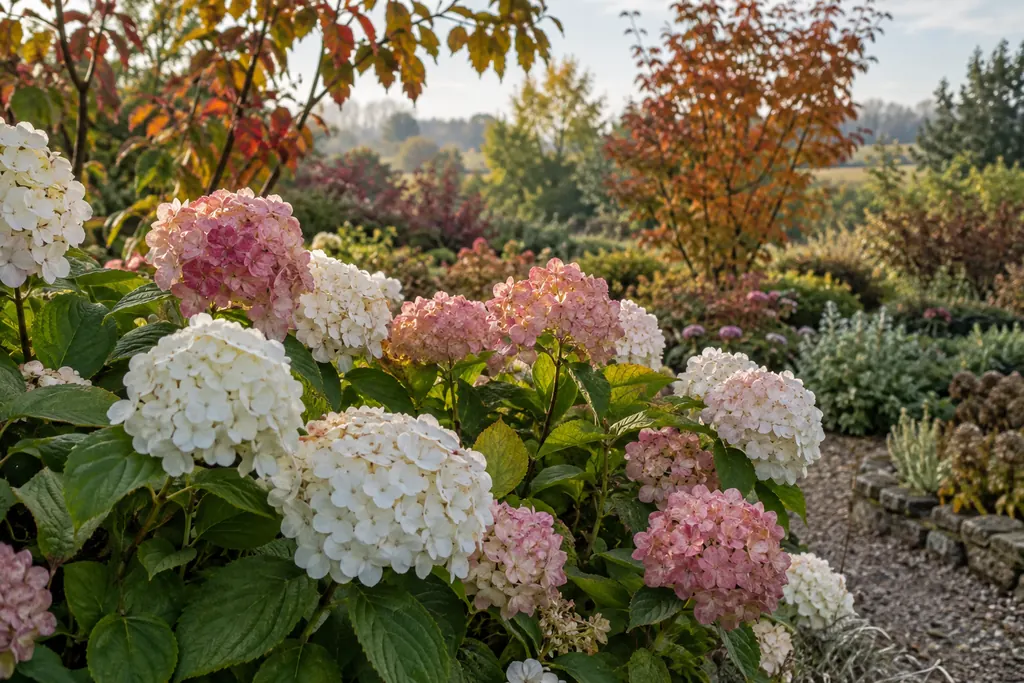
If you want lavender as an edging component, use the separate lavender growing guide to check its requirements. If a shrub such as hydrangea forms part of a mixed border, give it a separately considered position and use the hydrangea care guide rather than treating every plant in the bed identically.
Draw mature outlines at a simple scale
Measure the bed and draw it on paper. For example, a hypothetical border measuring 3 metres by 1.5 metres becomes a rectangle 15 centimetres by 7.5 centimetres at a scale of 1:20. Mark walls, fixed objects and access areas before adding plants.
Represent each plant by an approximate mature outline based on its cultivar information. If the expected spread is 50 centimetres, its circle would be 2.5 centimetres across at that scale. The calculation is an illustration of drawing scale, not a claim that every perennial needs the same spacing.
Move the outlines around until the mature arrangement fits the intended use. Compare the space between centres with the planting guidance for those cultivars. Check the border edges as well as the middle, including whether foliage would spill over a path you need to keep clear.
Number the outlines and connect them to a short plant list. This makes the sketch usable during shopping and planting. It also prevents the common mistake of drawing a spacious plan and then adding extra plants impulsively because the young pots look too small to fill it.
Repeat a few forms to connect the planting
A repeated plant or shape can help a small border feel connected. Try placing the same cultivar in more than one part of the sketch instead of buying one of every attractive plant. Repetition is a design option, not a rule requiring a fixed number in every group.
Compare leaf shape and overall habit as well as flower colour. A border can remain readable when the current flowers are gone if its foliage and outlines still relate to one another. Use photographs of the whole plant, not only close-ups of the bloom, when assessing that relationship.
For a simple first palette, choose a main colour relationship you enjoy and test it against the existing surroundings. A wall, fence or furniture colour affects the impression. You can adjust the palette later; choosing fewer coherent elements now makes it easier to understand what is and is not working.
Check the season on a separate sheet
Create columns for the parts of the growing season that matter to you, then mark the expected interest of each selected plant using relevant cultivar information. Include foliage and structure as well as flowers. Treat published flowering periods as guides that can shift with local conditions.
Look for long stretches where nothing in the plan provides the effect you want. Rather than immediately adding many more species, consider replacing one choice with a compatible plant that fills the gap. This preserves a manageable number of care routines and avoids overcrowding the original layout.
Think about how the bed will look from your main viewpoint outside peak flowering. You may prefer a quiet seasonal border rather than constant colour. The important point is to make that choice deliberately, not discover after planting that the whole display was selected from one nursery’s flowering stock on a single day.
Prepare the site and place pots before planting
Clear the area appropriately and resolve the site questions identified earlier. Obtain advice if drainage or persistent vegetation makes preparation uncertain. Do not assume that adding the same material across the whole bed is suitable for every chosen plant; soil preparation should serve the actual planting plan.
Set the pots on their numbered positions and view them from the main sightline. Use the mature outlines, not the tiny current plants, to judge spacing. Check access once more. Moving a pot now is much easier than relocating a newly planted group because it blocks the route or hides a feature.
Plant according to the individual plants’ instructions and the conditions at the site. Keep labels and record the final positions, including any changes made on the day. A photograph of the labelled arrangement helps restore the plan if a marker is lost later.
Plan the first season’s care and review
Make a short care note for each plant group, including establishment, any support needs and the appropriate later maintenance. Keep differing instructions distinct. Do not turn “perennial” into a promise that every plant follows the same watering, cutting or winter routine.
Inspect the border regularly enough to notice weeds, access problems and plants that are being crowded. Compare observations with the plan before buying replacements or filling gaps. A young border may look open because room was intentionally reserved for growth; that is different from a genuine missing element.
At the end of the season, photograph the bed from the original viewpoint and note a few changes for the next year. Link those tasks to your autumn garden plan. Keep successful groups, investigate failures and revise only what the experience supports. A good first border becomes a clear foundation for the rest of the garden.