Choosing a home projector: start with the room
Start with your viewing position rather than the largest resolution figure. Measure the distance and consider the room's light.
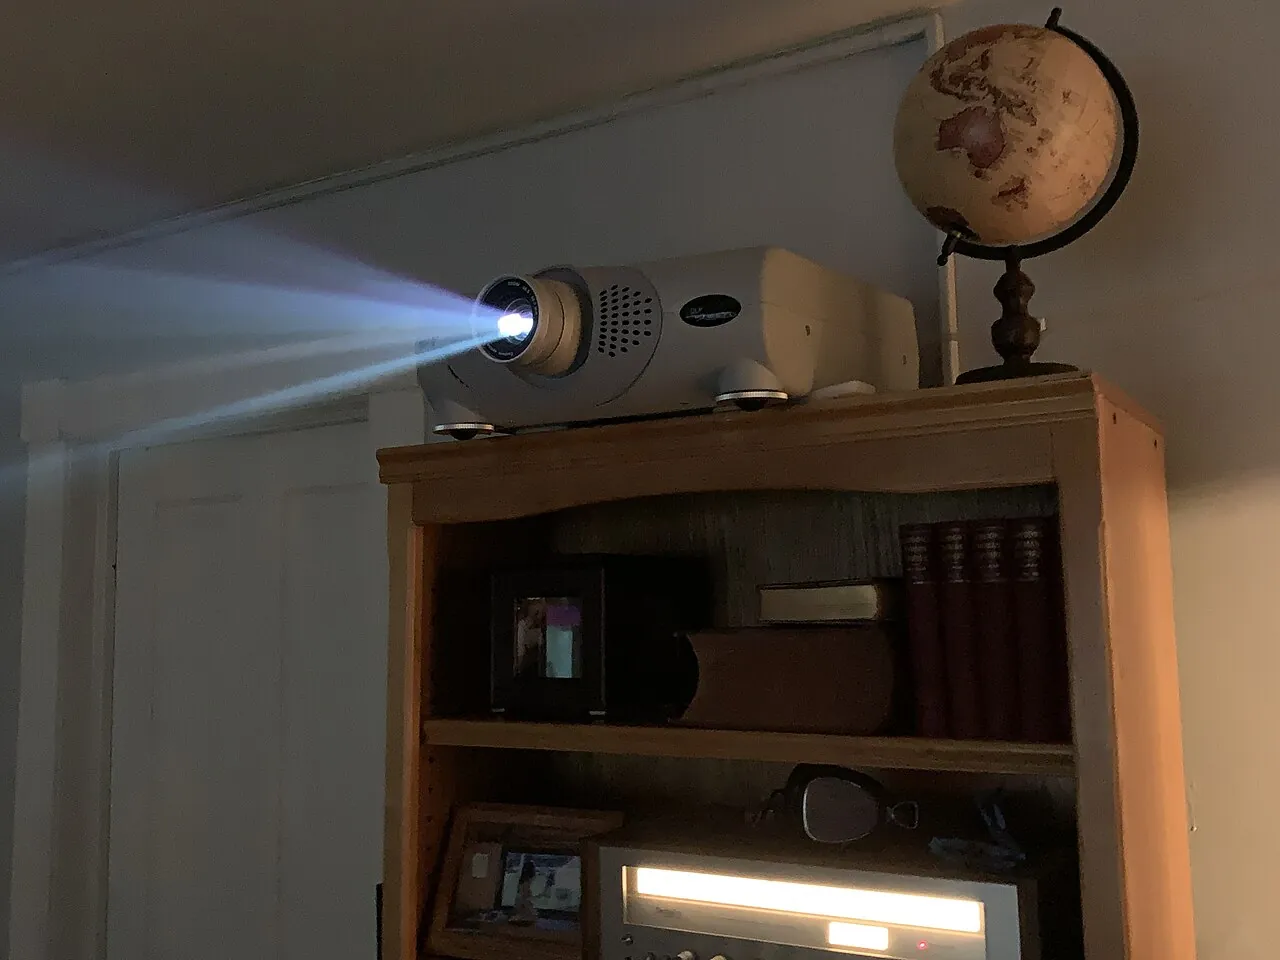
Choose a home projector around the room, the image size and the way you will watch. A model that performs well in a demonstration can be awkward at home if its lens needs more distance than you have, the picture falls across a doorway or the fan sits beside your head. Establish those physical conditions before comparing feature lists.
Write down the main use: evening films, daytime family viewing, occasional presentations or games. Add the intended source device and whether the projector will stay in place or be packed away. These answers create a practical shortlist, because portability, installation flexibility and everyday convenience do not mean the same thing for every household.
Start with the wall and the seats
Measure the clear image area, including its width and height. Note switches, shelves, doors and furniture that would interrupt the picture or a pull-down screen. Decide where the bottom of the image can sit without making viewing uncomfortable. A large diagonal in an advertisement is less useful than a rectangle that fits the actual wall.
Mark the proposed rectangle with removable tape and sit in the intended places. Check sight lines from the sides as well as the central seat. Imagine subtitles near the bottom and information near the corners. If the proposed image requires constant head movement or conflicts with normal furniture use, reduce or reposition it before choosing the projector.
For scale, a 100-inch image with a 16:9 aspect ratio is approximately 2.21 metres wide and 1.25 metres high. The diagonal is not the width. This geometric example helps mark out the space, but it is not a recommendation that every room should have a 100-inch screen.
Inspect the projection surface. A wall’s texture, colour and flatness are part of the result, so do not assume any pale wall behaves like a suitable screen. If buying a screen, check its compatibility with the projector type, viewing positions and installation. Include the housing, supports and deployment space in your measurements.
Calculate distance using image width
A projector’s throw ratio relates projection distance to image width. For a preliminary estimate, multiply image width by the stated throw ratio. Use the model’s manual and calculator to confirm the installation; Epson’s positioning guide explains why the room and projector placement must be considered together.
As a hypothetical example, a 2.21-metre-wide image with a throw ratio of 1.2 needs roughly 2.65 metres of projection distance. This is an illustrative calculation, not a specification for the pictured projector. Measure according to the manufacturer’s lens reference, and allow separately for the body, cables and required clearance behind it.
If the specification gives a throw-ratio range, calculate both ends for your image width. That provides a possible placement range, subject to the model’s other restrictions. Do not confuse optical zoom range with a promise that the projector can produce any image size from any position in the room.
Use the manufacturer’s exact-model distance tool where available, such as Epson’s throw-distance simulator. Check the selected model, aspect ratio and units. Save the result with your room measurements, then verify the actual setup before drilling mounting holes or committing to a fixed cabinet position.
Evaluate the room at the time you will watch
Visit the room under the lighting conditions you actually expect to use. An evening film with controlled light and a daytime programme beside an uncovered window are different situations. Note which lights can be adjusted, where sunlight reaches the screen and whether curtains are a practical part of the routine.
When comparing brightness claims, ask for the measurement method and operating mode. A bare number labelled “lumens” without context is a weak basis for comparison with a clearly specified measurement. Check whether the advertised maximum corresponds to a mode you would want to watch, rather than assuming every picture setting has identical output.
Avoid choosing a universal brightness threshold from screen diagonal alone. The room, screen and intended picture all matter. If possible, arrange a demonstration that resembles your conditions and use familiar content, including darker scenes and subtitles. A vivid promotional loop in a different environment does not answer every question about home viewing.
Plan the surrounding living-room lighting so people can move and use the room without unnecessarily lighting the screen area. Test the arrangement from the seats. The aim is a workable viewing environment, including the lighting you genuinely need, rather than a setup that functions only when the room is prepared in an unrealistic way.
Separate image resolution from accepted input
Read how the projector creates and displays its image, not just the maximum signal it accepts. Epson’s resolution guide describes resolution as the pixel dimensions used for the image. A statement that a device accepts a particular input format does not by itself explain the detail it will display.
Ask for the actual display specification and any processing involved. Compare it with your normal source material and viewing distance. Do not reject or select a model solely from a large “4K” label without understanding the full description. The useful question is how the complete system presents the content you intend to watch.
Check focus across the image, including text near the corners, during a demonstration or permitted trial. Use the intended screen size and placement. Inspect ordinary scenes as well as a test image. If only the centre appears satisfactory, investigate setup, surface and focus before assuming a menu adjustment will solve every cause.
For games, verify the supported input resolution and refresh rate together with input-lag information for the intended mode. Do not treat a high refresh-rate claim and a separate low-lag claim as automatically describing the same operating conditions. Confirm the connection from your actual console or computer and test the kind of game you play.
Plan alignment before relying on correction
Place the projector as the manual describes, keeping the image and screen appropriately aligned. Check lens height, offset and any supported lens shift. A shelf that seems convenient may be unsuitable if it forces the projector into a position outside the available adjustment range.
Epson distinguishes lens shift from digital image correction: lens shift moves the optics, while keystone correction alters the image to correct its shape. Treat them as different tools. Do not assume an automatic correction feature removes the need to understand the physical placement.
For an ultra-short-throw arrangement, inspect the exact cabinet and screen requirements rather than interpreting “close to the wall” as “fits anywhere”. Allow room for the projector body and the image’s vertical position. A small change in cabinet location can matter to the final layout, so confirm the installation using the model’s instructions.
For ceiling mounting, use a compatible mount and a suitable structure, with competent installation where needed. Keep the manufacturer’s ventilation clearances and a practical route for power and signal cables. The installation should allow maintenance without improvising access over furniture or blocking cooling openings to make the device less visible.
Confirm sources, applications and sound
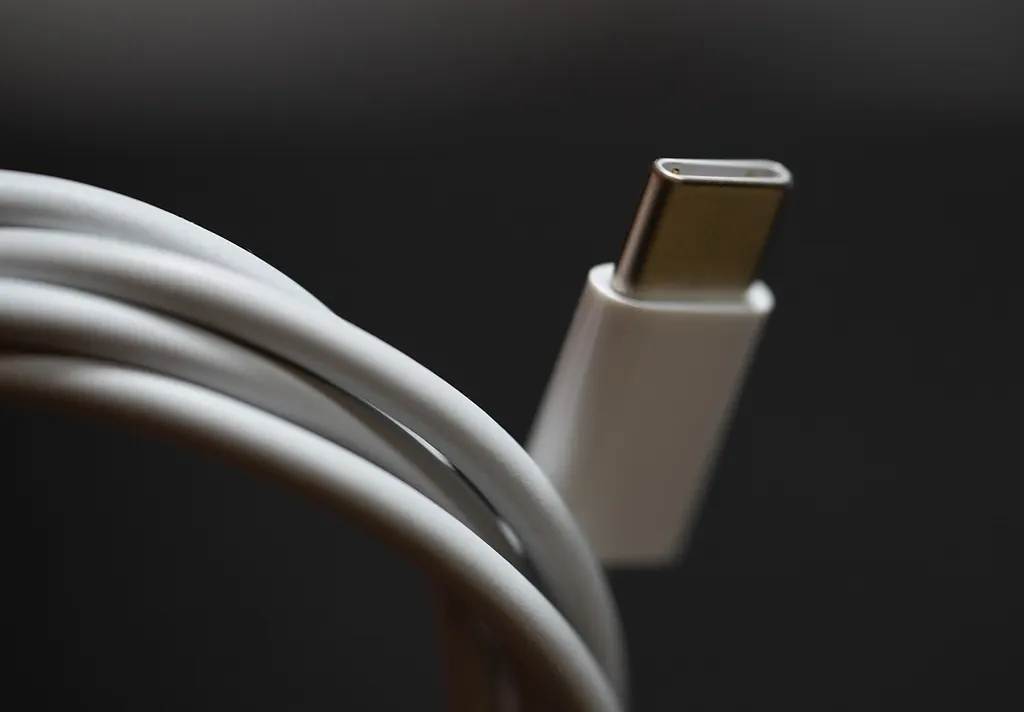
List the devices you will connect and check the role of each projector port. A USB socket may be for a purpose other than live video input. If connecting through USB-C, use the USB-C cable guide to verify the source, cable and adapter combination instead of relying on matching connector shapes.
For built-in streaming, confirm current support for the exact service, projector model and region. Check the service provider’s information as well as the projector listing. An operating-system name or an application icon in a promotional image is not enough to establish that your subscription will play in the way you expect.
Consider an external playback device if it provides the documented connection and services you need, but include its power and remote-control arrangement. Test ordinary actions: starting playback, changing volume, selecting an input and returning after a break. A system that requires several unexplained steps may be inconvenient for other household members.
Decide how sound will reach the listeners. Check the available audio connection and test speech intelligibility from the actual seats. If using wireless audio, assess synchronisation with dialogue. Listen to fan noise in the picture mode you plan to use, especially when the projector will sit close to a viewer.
Test the complete routine before fixing everything in place
Set up a temporary, stable arrangement that follows the instructions. Run your intended source, image size, lighting and sound together. Check the whole session rather than only a successful first picture: warm-up, focus, playback, volume and shutdown all belong to the experience.
For an occasional family film, include setup and packing away in the plan. Keep cables and the remote together and choose a suitable storage place. If the evening is part of your rainy-day indoor activities, prepare the connection beforehand so the shared activity does not become an unexpected equipment experiment.
Before choosing, confirm that the image fits, the distance works, the source is supported, the sound is usable and the installation is practical. Compare the complete arrangement, including screen and mounting needs. The right projector is the one that works in your room and routine with those conditions understood.