Everyday apple and cinnamon cake
The juiciness of the apples affects baking time. Cut them evenly and check the centre before removing the cake from the oven.
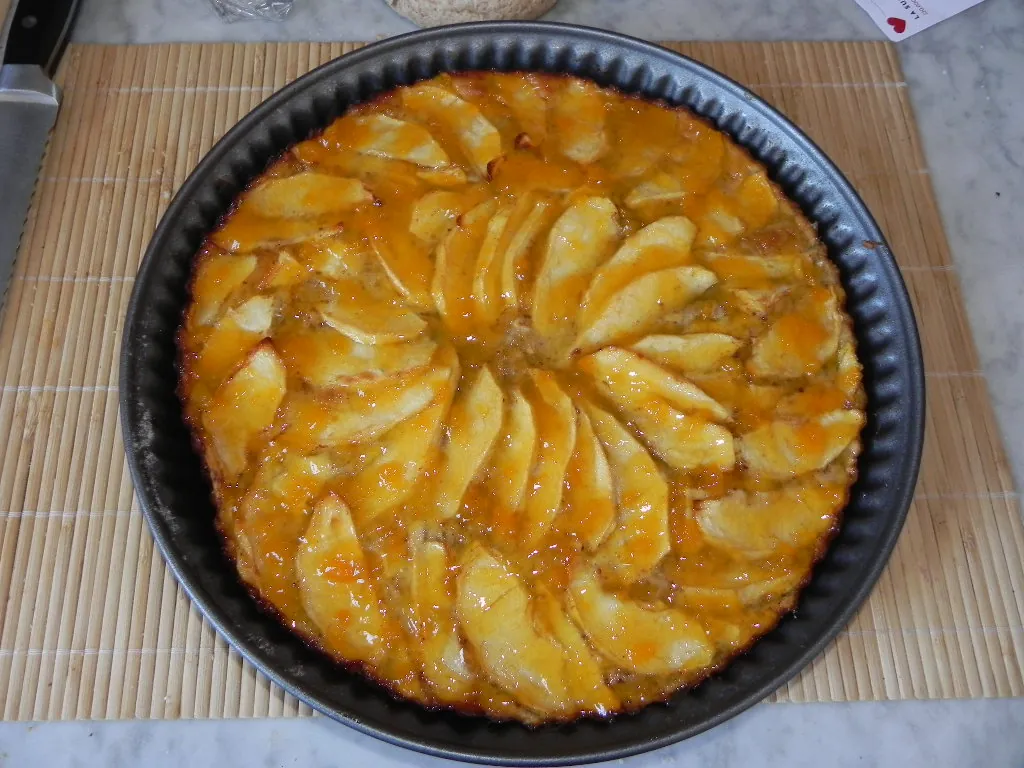
An apple and cinnamon cake is easier to reproduce when the apples are measured after coring, rather than counted alone. Three small apples and three large ones can contribute very different amounts of fruit. For this recipe, prepare about 350–400 g of apple flesh and use a 24 cm round tin so the batter has a predictable depth.
This is an oil-and-yoghurt cake, mixed without creaming butter. It makes approximately eight to ten slices. Allow about 20 minutes for preparation and 40–50 minutes in a conventional oven at 180°C, followed by cooling before cutting. The baking range is a guide; the centre of the cake determines whether it needs more time.
Ingredients and equipment
- About 3 medium apples, giving 350–400 g after coring and any peeling
- 2 medium eggs
- 130 g sugar
- 100 ml neutral cooking oil
- 150 g plain unsweetened yoghurt
- 220 g plain wheat flour
- 2 teaspoons baking powder
- 1 teaspoon ground cinnamon
- A pinch of salt
Prepare a 24 cm cake tin, baking paper, two mixing bowls, a whisk, a spatula and a skewer for checking the middle. Read the tin’s instructions for greasing and releasing the cake. A removable base is useful, but check that the parts fit securely before adding batter.
Use plain yoghurt with a reasonably consistent texture. Sweetened fruit yoghurt adds both flavour and sugar, while a very thick strained product changes the mixture differently from a thin drinking yoghurt. Those may be ingredients for another version; they are not identical substitutes in this starting recipe.
The oil should have a flavour you want in the finished cake. A strongly flavoured oil can compete with the apple and cinnamon. Measure it in millilitres as listed rather than treating the same number of grams as automatically equivalent.
Prepare the apples before mixing the batter
Wash the apples, remove the cores and trim away damaged parts. Peel them if the skin is tough or you prefer a smoother texture. Leaving a tender skin on is an option, but do it consistently enough that you know what produced the result.
Cut the flesh into small, reasonably even pieces, roughly 1–1.5 cm across. Very large chunks can leave the surrounding cake difficult to assess, while tiny pieces behave differently from distinct fruit pieces. Weigh the prepared fruit and set aside approximately one third for the top.
Apple varieties differ in sweetness, firmness and juiciness. Use the recipe’s measured range first and record the variety when you know it. If your fruit is very juicy, do not compensate by adding a fourth apple or an unmeasured splash of yoghurt. Start with the lower end of the fruit range and observe the baked texture.
Prepare the fruit, tin and oven before bringing wet and dry mixtures together. Once the batter is mixed, you should be ready to transfer it to the tin rather than stopping to core several apples or search for baking paper.
Mix the wet and dry ingredients separately
Heat a conventional non-fan oven to 180°C. Line the tin’s base and prepare the sides as its instructions require. Position the shelf so the cake has suitable clearance from the heating elements. If using a different oven mode, follow the appliance’s conversion guidance rather than assuming all settings behave alike.
Whisk the eggs and sugar until evenly combined and slightly lighter. You do not need a large, stiff foam. Add the measured oil and plain yoghurt, then mix until the liquid ingredients are uniform. Scrape around the bowl so no thick yoghurt remains at the bottom.
In a second bowl, combine the flour, baking powder, cinnamon and salt thoroughly. Check that the baking powder is suitable for use and measure it with a level teaspoon. Uneven pockets of raising agent are harder to distribute after flour has entered the wet mixture.
Add the dry ingredients to the wet mixture and fold with a spatula just until no dry flour remains. Work around the bowl and through the centre without prolonged beating. This stage is about combining the ingredients, not increasing the volume as much as possible.
Do not taste the uncooked mixture. FDA notes that flour is a raw food, so keep tasting for the baked cake and clean utensils after handling batter.
Add the fruit and bake
- Fold approximately two thirds of the prepared apple pieces into the batter, distributing them without repeatedly stirring after they are mixed through.
- Transfer the batter to the prepared tin and level it gently. Spread the remaining apple pieces across the top rather than piling them in one central mound.
- Bake at 180°C for about 40–50 minutes. Begin checking near the lower end of the range, allowing for differences between ovens and tins.
- Insert a clean skewer into the central cake crumb, avoiding a large apple piece. Raw sticky batter means it needs further baking; a few moist crumbs differ from a coating of uncooked mixture.
- If necessary, check a second nearby place so a wet fruit piece does not decide the result alone. Continue in short intervals and reassess.
- Once cooked, place the tin on a heat-safe surface and let the cake settle briefly before releasing it according to the tin’s design. Cool further before cutting.
The top can brown before the centre finishes. If that happens, cover it loosely with foil only if your appliance permits this, keeping the foil safely away from heating elements. The purpose is to limit further browning while the middle cooks, not to remove the cake as soon as it looks golden.
Avoid opening the oven repeatedly during the early part of baking. Prepare the skewer and heat protection before the first check so the door remains open only as long as necessary. Use safe support for the tin rather than balancing it on a narrow edge while assessing the cake.
Distinguish a moist cake from an underbaked centre
Pieces of apple naturally create moist areas. That does not mean a layer of raw batter through the middle is an intended texture. Assess the surrounding crumb in more than one place and allow the cake enough time to bake through before beginning the cooling stage.
If the centre remains wet while the outside becomes dry, review the tin diameter, fruit quantity and oven mode. A smaller tin creates a deeper cake from the same mixture. More fruit adds another change. Do not assume the original timing still applies after both have been altered.
A cake cut very hot can appear less settled and may break around the fruit. Give it time to cool before deciding that its final texture is too soft. Cooling cannot finish baking a raw centre, however, so the oven check still matters before the cake comes out.
What to change on the next bake
If the cake seems too sweet, first consider the apples and any topping. A sweet variety served with sweetened cream is a different combination from a tart apple cake served plain. Record that combination before changing sugar, fruit quantity and yoghurt at the same time.
If cinnamon dominates, reduce it modestly in a future batch. Adding more apple to balance the spice also changes moisture and the ratio of fruit to batter. A small change to the ingredient responsible is easier to evaluate than several compensating changes.
For a more pronounced apple pattern, arrange the reserved top pieces evenly, leaving some batter visible between them. Do not create a dense overlapping fruit roof that differs substantially from the stated quantity. Presentation should work within the measured recipe rather than silently becoming a new recipe.
Serve and store without softening the whole cake
Serve the cake plain or put a small amount of yoghurt, cream or another chosen accompaniment beside each slice. Add dairy toppings to individual portions near serving time. Keeping the main cake separate makes storage and texture easier to manage.
Cool it promptly and refrigerate covered for storage, using a container that does not press onto the top. Do not leave dairy-topped slices on the table for prolonged periods. Follow the ingredient labels and appropriate food-storage guidance; a topping can impose a shorter limit than the plain cake.
For freezing, package individual cooled slices with suitable separation and label them with the date. This is more practical than repeatedly thawing a whole cake for one portion. Expect the apple pieces and crumb to feel somewhat different after thawing rather than promising an unchanged texture.
Plan the cake as part of a meal
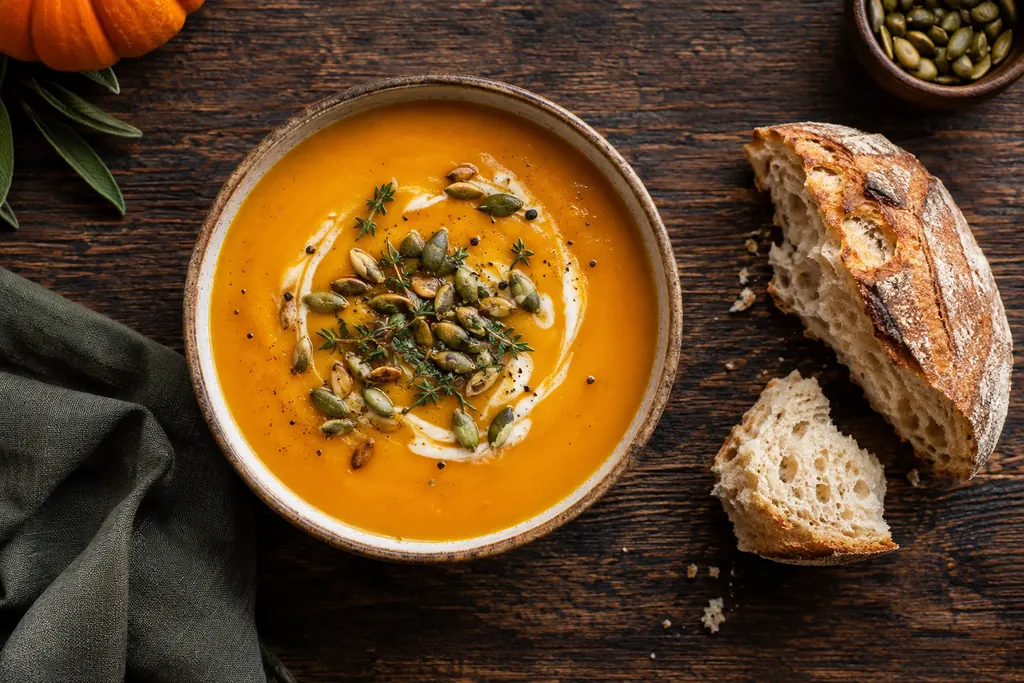
A light serving after pumpkin soup is one way to organise a simple lunch. Prepare the soup and cake on separate work areas where possible and clear raw-batter utensils before handling ready-to-eat food. The cake’s cooling period can overlap with setting the table.
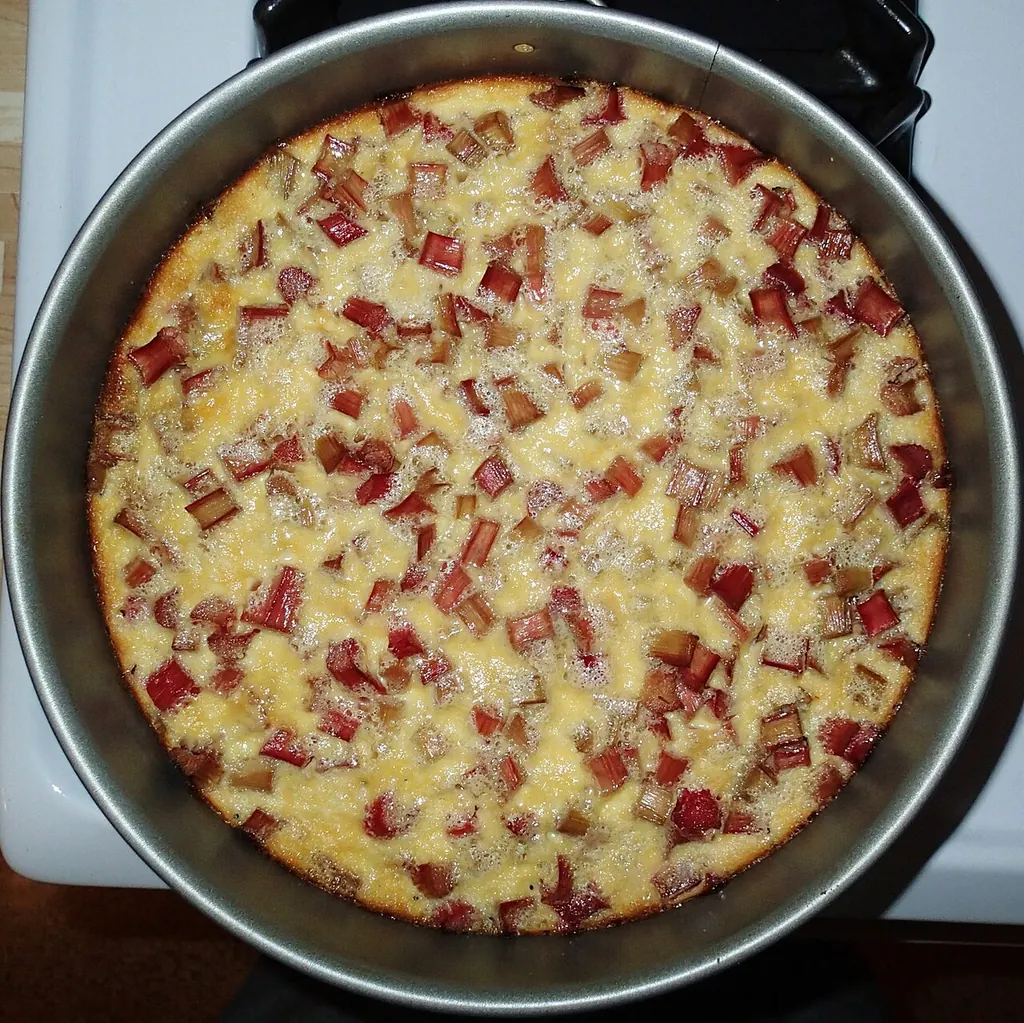
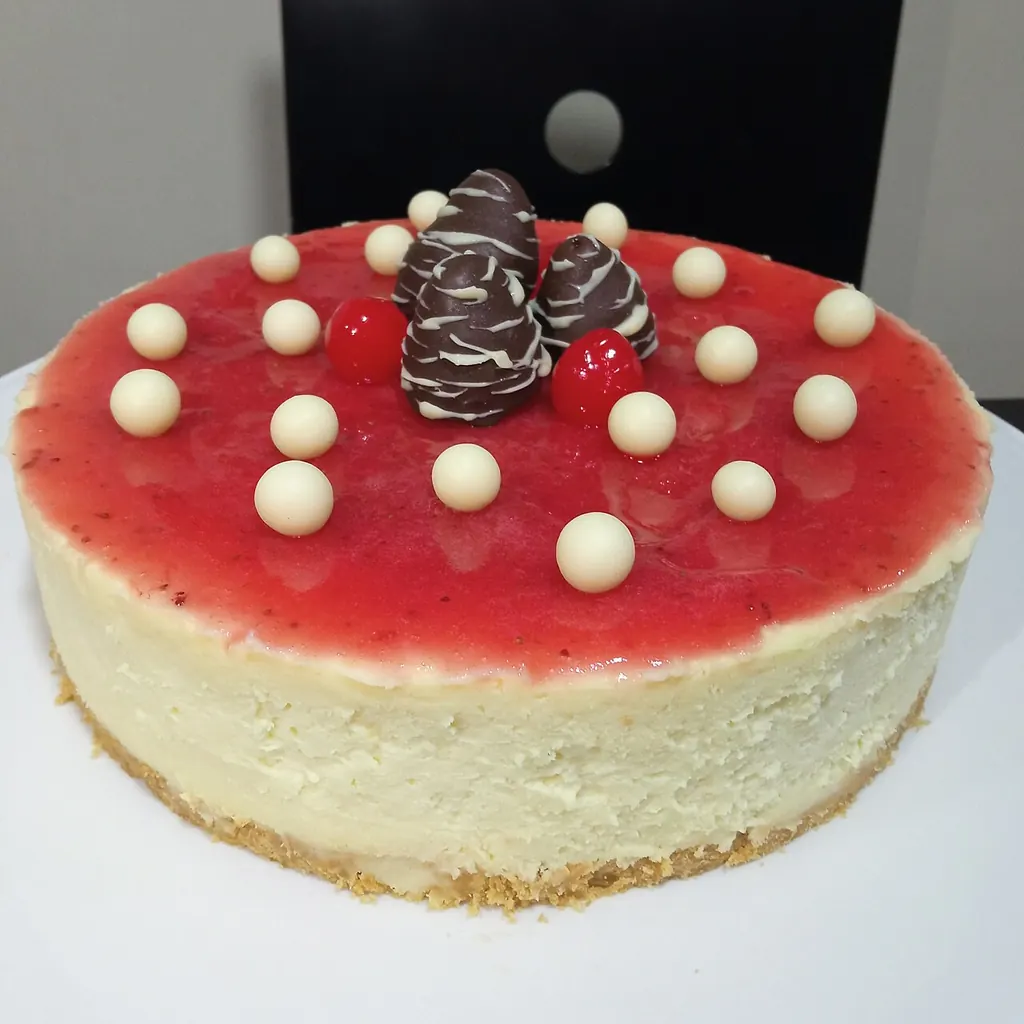
For a seasonal alternative, the rhubarb cake uses a butter-based method and its own proportions. Do not exchange the fruit weight and assume the recipes are otherwise identical. The baked cheesecake needs a much longer chilled setting period, which changes when preparation should begin.
If doubling this apple cake, use two suitable tins instead of placing twice the batter in one 24 cm tin. Bake each cake with enough space for your oven to work as intended and check each centre separately. Two cakes on different shelves may not finish together.
Keep a short record of the apple variety, prepared fruit weight, yoghurt, tin and actual baking time. These details help explain why one attempt differed from another. Once you have a result you like, change only one significant ingredient or setting at a time so the next version remains understandable.