Baked cheesecake: gentle mixing and cooling
A smooth cheesecake benefits from gentle mixing and time to cool. Make it the day before you plan to serve it.
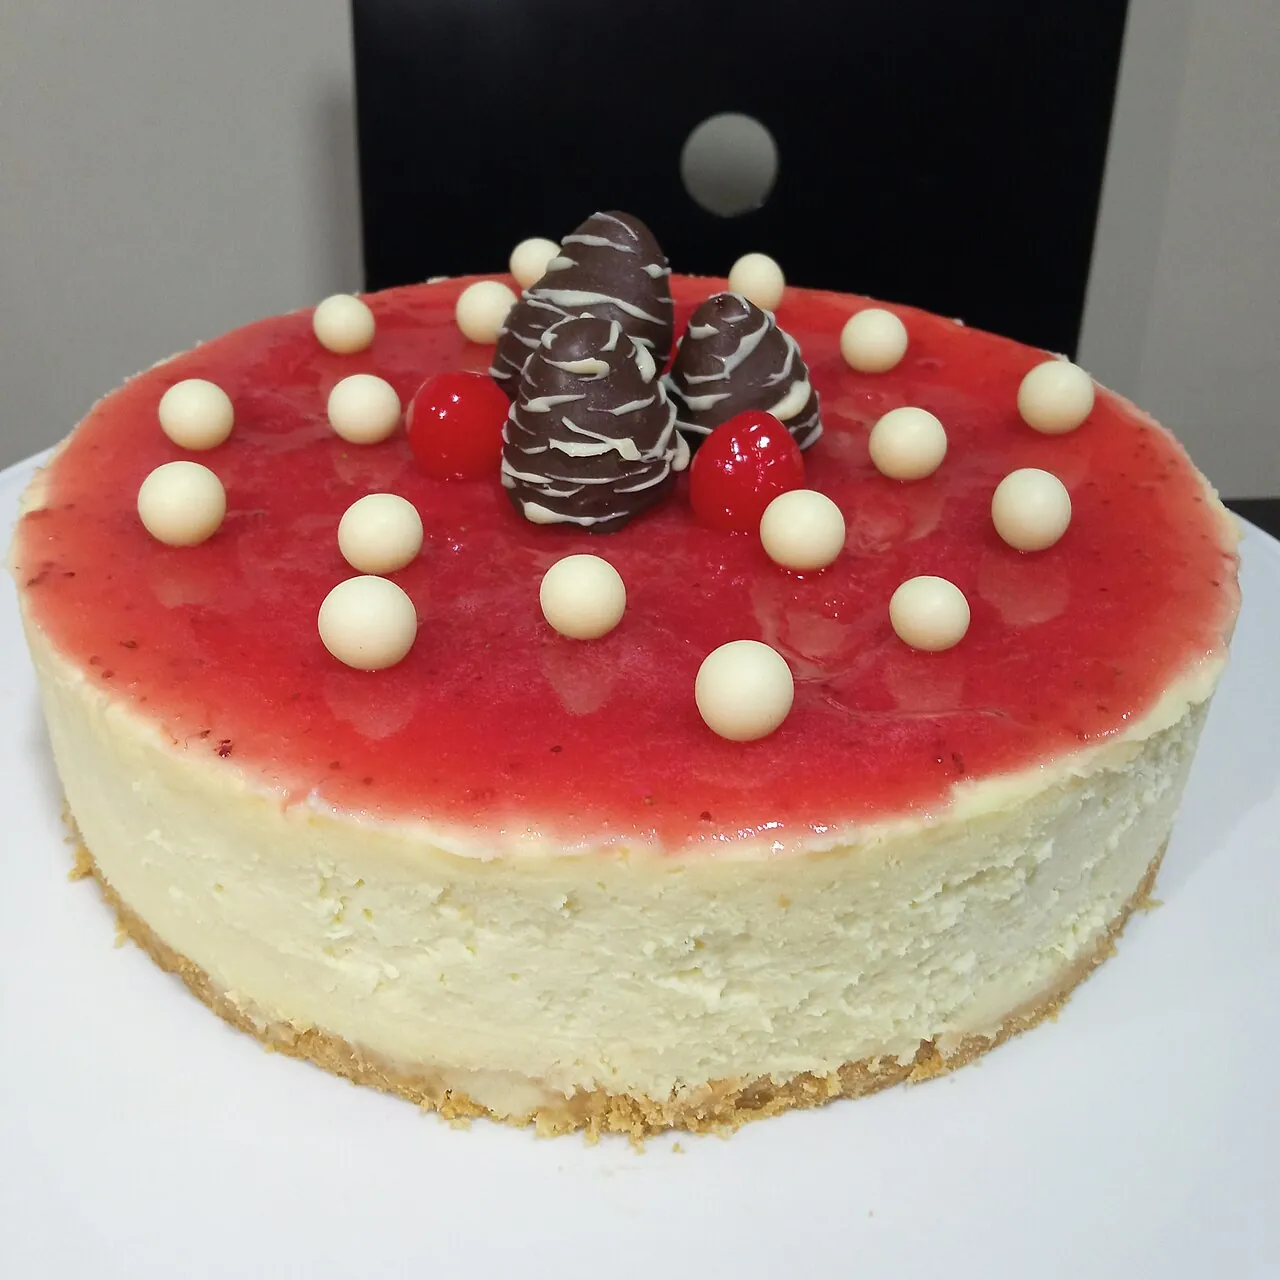
Baked cheesecake is a useful dessert to make the day before serving because its preparation does not end when the oven switches off. The filling needs controlled baking, prompt cooling and a proper period in the refrigerator before slicing. Start by making room in the fridge, not by taking out every ingredient and discovering later that the tin will not fit.
This version uses a 22 cm round tin, a biscuit base and a plain cream-cheese filling. It makes about eight to ten portions. Allow roughly 25 minutes of active preparation, 10 minutes to pre-bake the base, around 50–65 minutes for the filling and at least six hours of refrigeration after cooling. The actual baking time depends on the oven and tin.
Ingredients for the base and filling
- 180 g plain biscuits for the base
- 75 g butter, melted
- 600 g plain full-fat cream cheese
- 150 g sugar
- 3 medium eggs
- 150 g sour cream
- 1 tablespoon cornflour, meaning corn starch
- 1 teaspoon vanilla extract
- Optional for serving: fresh berries or a separately prepared fruit topping
Choose cream cheese intended to provide a smooth, thick mixture. Cottage cheese, quark and a reduced-fat spread are not automatic replacements for the same weight in this recipe. They can differ in texture and moisture, so a substitution may need its own proportions rather than more beating to force the same result.
Use biscuits that crush into even crumbs without a cream filling. Their sweetness becomes part of the base, so a strongly sweet or flavoured biscuit changes the dessert before you add a topping. Read ingredient labels if anyone eating the cake has restrictions; the base and filling may introduce different ingredients.
Prepare a mixing bowl, spatula, suitable whisk or mixer, baking paper and a food thermometer that can measure the filling. Check that the tin is assembled securely. A removable base is convenient for serving, but it needs careful handling when the cake is warm and has not yet firmed up.
Make an even biscuit layer
Heat a conventional oven to 170°C and line the tin’s base. Crush the biscuits into reasonably fine, even crumbs. A mixture containing both powder and large hard chunks is difficult to press into a consistent layer. Use a processor or a suitable closed bag and rolling pin without damaging the work surface.
Stir in the melted butter until the crumbs are evenly moistened. Transfer them to the tin and spread before pressing, so you do not create a thick mound in one place and a thin patch elsewhere. Press firmly enough to make a coherent base, but there is no need to compact it with excessive force.
Bake for about 10 minutes, then set aside briefly while preparing the filling. Reduce the oven setting to 160°C for the main bake. These temperatures refer to a conventional non-fan mode. Follow your appliance’s guidance if using a different mode and avoid changing several settings during the same bake without a reason.
Mix smoothly without incorporating unnecessary air
Let the cream cheese soften only for the preparation time needed to mix it. Do not leave dairy products and eggs out for the afternoon. Prepare the workspace and ingredients together so the mixing begins once the cheese is workable.
Stir the cream cheese with the sugar until smooth, scraping the bottom and sides of the bowl. The objective is an even mixture, not the largest possible volume. If using a mixer, choose a gentle setting and pause to scrape rather than expecting speed alone to remove every lump.
Add the sour cream, cornflour and vanilla and mix until evenly combined. Break the eggs into a separate small bowl one at a time, checking for shell, then add each to the filling. Mix only until incorporated before adding the next. Scrape the bowl once more at the end so no dense layer remains underneath.
Do not taste the uncooked filling. Keep utensils used with raw egg separate from clean serving equipment, and wash hands and surfaces after handling it. The filling should now be smooth enough to pour into the prepared base without needing vigorous whipping or an additional unmeasured splash of milk.
Bake the filling and verify doneness
- Pour the filling over the pre-baked base and level it gently. Place the tin on the appropriate oven shelf with enough clearance around it.
- Bake at 160°C for approximately 50–65 minutes. Begin assessing near the lower end of the range rather than waiting until the surface is deeply browned.
- Look for set edges and a centre that moves gently as one area, not liquid waves running across the filling. Use these as texture observations, not as the sole safety check.
- Check the centre with a clean food thermometer. FoodSafety.gov specifies 71°C for egg dishes. If it has not reached that temperature, continue baking and check again.
- Once cooked, switch off the oven, leave the door slightly open and let the cake settle for about 30 minutes. Then move it carefully to a heat-safe surface and continue the cooling process promptly.
A small thermometer mark is easier to cover with berries than an undercooked centre is to correct after serving. Keep the probe away from the tin’s base when measuring the filling. Clean it as directed before and after use. Do not assume a browned surface means the entire cake has reached the same temperature.
Cool without leaving the cake out overnight
The short oven pause is part of cooling, not permission to leave a dairy-and-egg dessert at room temperature indefinitely. FDA egg-safety guidance calls for refrigeration within two hours, or one hour in temperatures above 32°C. Count the oven-rest period within your cooling plan.
Transfer the cake to the refrigerator within that window and leave it there for at least six hours before slicing. Use a suitable cover once the surface no longer gives off substantial steam, protecting the cake without pressing anything onto the filling. Keep strongly scented foods covered elsewhere in the fridge as well.
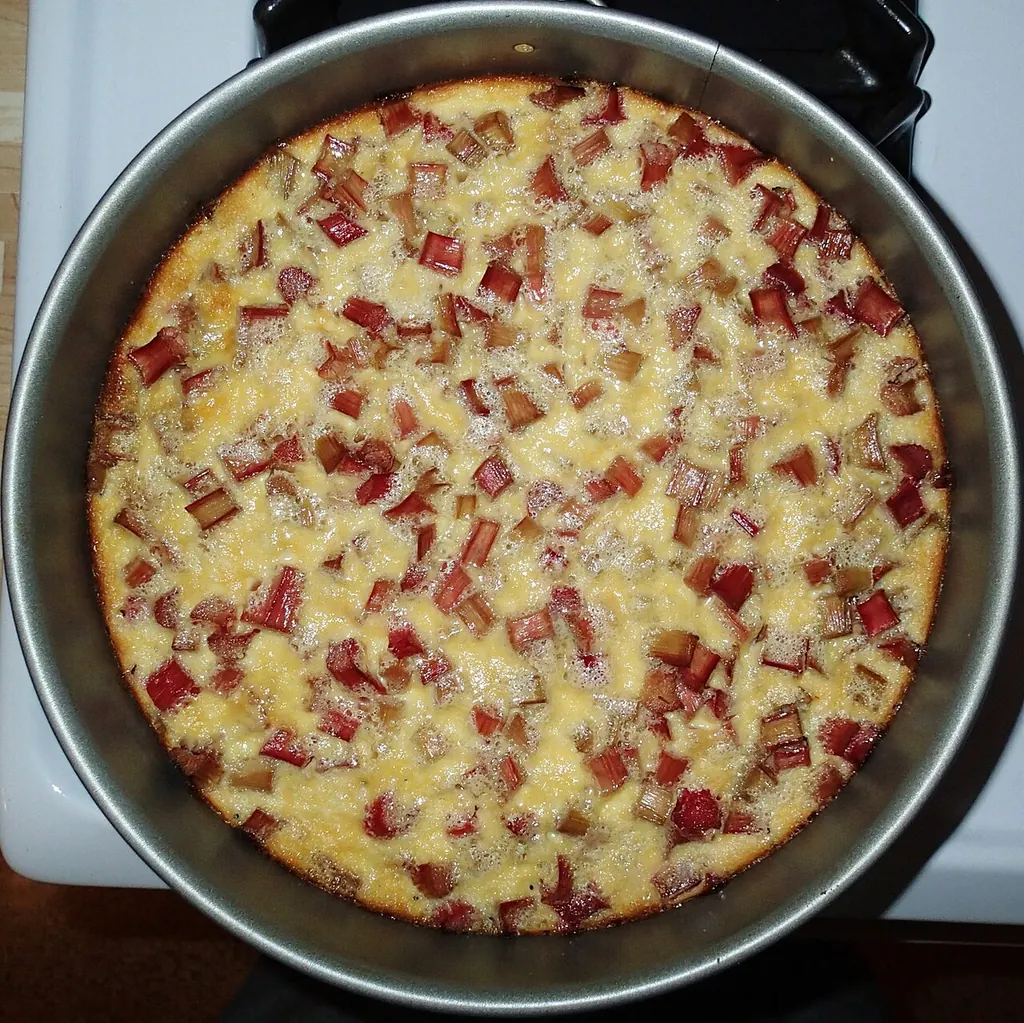
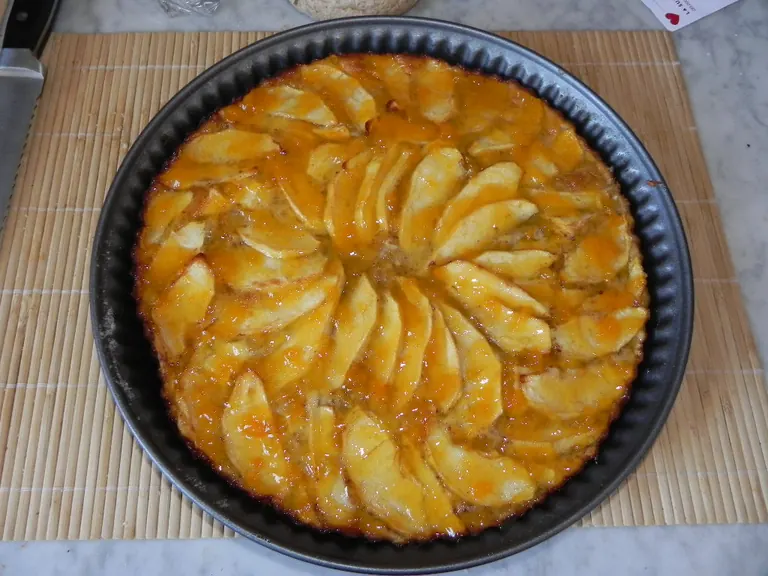
Making the cake the previous day removes the temptation to shorten the chilled setting period. If you need a dessert without this long wait, choose an apple cake or rhubarb cake for another occasion. A cheesecake is easier to plan when its cooling time is treated as a required stage.
Why cracks and lumps deserve different responses
A small surface crack can be a presentation issue without making a properly cooked and safely stored cake unusable. Do not continue baking solely to make the surface look more uniform; extra time cannot close a crack that has already formed. Check actual doneness, then follow the cooling plan.
For a repeat bake, review how vigorously the filling was mixed, the actual baking time and how abruptly it was cooled. Change one factor at a time. Increasing starch, changing the cheese and altering the oven temperature together makes it difficult to identify what helped.
Lumps are better addressed before the eggs are added. Scraping and smoothing the cream cheese at the start is easier than trying to remove dense pieces from a complete filling. Once eggs are present, prolonged high-speed mixing is not a useful universal solution. On the next attempt, give attention to the cheese’s workable texture and the bowl’s corners.
If the cold cake is softer than you expected, check the product used, the recorded centre temperature and the complete refrigeration time. Do not label every soft cheesecake “undercooked” based only on appearance, but do not serve one whose cooking or storage was inadequate. Texture preference and safe preparation are separate questions.
Release, decorate and cut
Release the thoroughly chilled cake carefully, following the tin’s design. Support the base during transfer and use a flat serving surface. A large flexible plate can make moving a heavy dessert awkward, so choose the serving arrangement before taking the cake out of the refrigerator.
Add berries or a cooled fruit topping shortly before serving. Keep very wet toppings separate if you want the biscuit base to retain its texture. The cake already contains measured sugar, so taste the finished dessert before deciding that it needs a thick additional sweet layer.
Use a clean knife and wipe it between cuts for clearer edges. Cut the portions needed and return the rest to cold storage promptly. For a party, the children’s birthday planning guide can help you schedule dessert after the main activity instead of putting the whole cake on display for the entire event.
Keep a practical record for next time
Write down the cheese product, biscuit type, tin diameter, baking duration and measured centre temperature. Add the time the cake entered the refrigerator. These details help you repeat a result and distinguish a recipe change from an oven or ingredient difference.
Store covered in the refrigerator and use within the limits of the ingredients and safe handling. FDA’s egg guidance gives three to four days for refrigerated cooked egg dishes; any earlier limit or break in proper storage takes precedence. For carrying the cake elsewhere, maintain suitable refrigeration during transport and keep decoration separate when that makes packing easier.
Do not enlarge the recipe by pouring a double batch into the same tin. A deeper filling changes how the centre cooks. Two correctly prepared tins are a more understandable next step, with each cake checked individually and enough refrigerator space reserved before baking begins.