Thin pancakes: batter and a steady cooking rhythm
Thin pancakes need a flowing batter and steady pan heat. Use the first pancake to check the consistency and temperature.
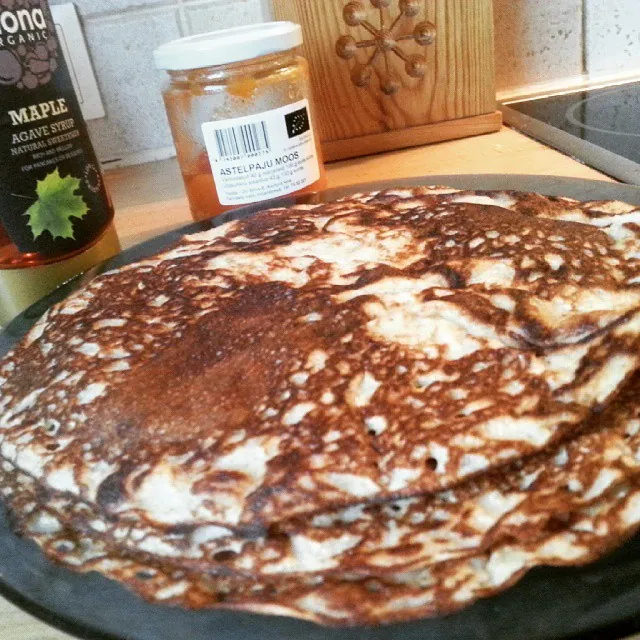
Thin pancakes are easier to repeat when the batter, pan and amount poured are treated as three separate variables. If a pancake tears, adding more flour immediately may solve the wrong problem: it might simply need another few moments before turning. Start with measured ingredients, let the batter rest and use the first pancake to assess the heat and thickness.
This recipe makes approximately 10–12 pancakes, depending on the pan and how thinly you spread the batter. Allow about 15 minutes to mix and organise the workspace, 20 minutes for resting and roughly 20–30 minutes for cooking the batch. A 24 cm frying pan is a useful starting size, although the flat cooking surface may be smaller than its advertised diameter.
Ingredients for one batch
- 2 medium eggs
- 250 ml milk
- 150 ml water, plus a little more only if needed after resting
- 180 g plain wheat flour
- 1 tablespoon neutral cooking oil, plus a small amount for the pan
- 1 tablespoon sugar
- A pinch of salt
Use ordinary plain flour rather than self-raising flour. Baking powder is not needed for this thin style. Measure the milk and water separately before starting so an interrupted pour does not leave you guessing how much liquid is already in the bowl.
The sugar provides mild sweetness without making the pancakes a complete dessert by themselves. For a savoury filling, reduce it or leave it out. Milk, eggs and wheat remain part of the recipe even when the filling changes; check every ingredient if you are preparing food for someone with dietary restrictions.
Prepare the pan and a simple cooking station
Choose a pan with a reasonably flat base and a handle you can hold securely while tilting it. Use utensils suitable for its surface. A thin flexible turner can help release a pancake, but a sharp metal edge is unsuitable for many coated pans. Follow the manufacturer’s heating and care instructions.
Set the batter bowl, ladle, turner and serving plate within comfortable reach, away from the hot cooking area. Keep the plate on a stable heat-safe surface. Arrange fillings before cooking if someone will be eating the pancakes as they are made; looking for jam while a thin layer of batter cooks makes timing harder.
Have a small container of extra water ready for measured adjustments. Keep it separate from the main liquid quantity so you can record what you added. There is no need to pour a large amount of oil into the pan: the aim is a light film, not a shallow pool in which the batter slides around.
Mix a smooth batter in stages
- Break the eggs into a mixing bowl, checking for shell. Add the sugar and salt and whisk just until combined.
- Combine the measured milk and water in a jug. Add approximately half this liquid to the eggs.
- Add the flour gradually while whisking, working around the bottom and sides until the mixture is smooth.
- Pour in the remaining measured liquid in stages, stirring between additions. Stir in the tablespoon of oil.
- Scrape the bowl, cover it and leave the batter to rest for about 20 minutes. Keep it refrigerated if the room is warm or the wait will be longer.
- Stir again before cooking. Assess how the batter flows from the ladle and, if necessary, add water one tablespoon at a time.
Beginning with only part of the liquid makes it easier to see and work out flour pockets. If stubborn lumps remain, pass the batter through a suitable sieve rather than repeatedly beating it until it becomes very foamy. A few bubbles are normal; a deep foam layer makes measuring and spreading less consistent.
Do not taste the raw batter. FDA guidance explains that flour is a raw food; uncooked flour and eggs are reasons to wait until the pancake is cooked. Wash the mixing utensils and work surface after use.
Use the first pancake to set the heat
Heat the pan according to its instructions, beginning around a medium setting. Add a small amount of oil and distribute it as a thin layer. Lift the pan briefly from the heat when pouring if that gives you better control, keeping it safely over the cooking area.
Pour in a small ladleful, tilt the pan immediately and let the batter travel across the base. Around 50–60 ml is a starting estimate for a medium pan, not a requirement for every pan. If it cannot reach the edges before setting, assess both the amount and the heat before thinning the entire bowl.
Return the pan to the hob. Let the upper surface lose its wet appearance and wait for the edge to begin releasing. Slide the turner underneath carefully and check that the underside is lightly golden. Turn the pancake and cook the second side until the remaining batter is set and the surface has some colour.
The second side commonly needs less time than the first, but use the actual pancake rather than an inflexible stopwatch. If the underside becomes dark while the top is still very wet, lower the heat. If it stays pale for a long time and sticks, allow the pan to recover heat and review its surface and oiling.
Diagnose tears before changing the recipe
A pancake that breaks during an early turn may need more cooking time, not extra flour. Wait until the edge releases and support a broad area with the turner. Pulling only one thin edge while the centre is attached to the pan encourages tearing.
If several properly cooked pancakes still tear, stir the batter and check whether you have spread it exceptionally thin. Try a slightly larger measured portion next. Avoid correcting the whole bowl with a large handful of flour: this creates a different batter and can introduce fresh lumps.
Thick pancakes with heavy ridges often need a more fluid batter or a quicker tilt. Add one tablespoon of water, stir and cook a test pancake. Record the adjustment. If batter runs freely but forms holes around pools of oil, reduce the oil used on the pan before adding more liquid.
Change one variable at a time. A cooler pan, thinner batter and a larger ladleful introduced together may produce a better pancake, but you will not know which change mattered. A useful first pancake is information, even if its shape is less tidy than the rest.
Keep the batch consistent
Stir gently every few pancakes, particularly if the bowl has been standing while you prepare a filling. Use the same ladle and approximately the same amount. A shallow scoop near the end of the bowl can be smaller than earlier portions, which explains some unexpectedly small final pancakes.
Adjust the heat as the pan becomes thoroughly hot. A setting that worked during warm-up may be too high later. Briefly move the pan to a safe inactive area if necessary, following its handling instructions, instead of rushing faster and faster to keep up with burning edges.
Stack cooked pancakes on a clean plate and cover loosely for a short serving period. Do not put raw batter utensils on that plate. If you are serving several people, bring out a small stack at a time rather than leaving the entire batch exposed while you finish every pancake.
Choose fillings that suit a thin pancake
Jam, fresh berries or sliced fruit can be served separately, allowing each person to choose an amount. Drain very juicy fruit before filling so the pancake does not become wet immediately. A thin layer is easier to roll or fold than a large mound placed in the centre.
For a savoury version, use a modest amount of prepared filling, such as cooked vegetables with cheese. Cook anything that requires cooking separately before it reaches the pancake. Folding a warm pancake around a filling is not a reliable way to cook raw ingredients inside it.
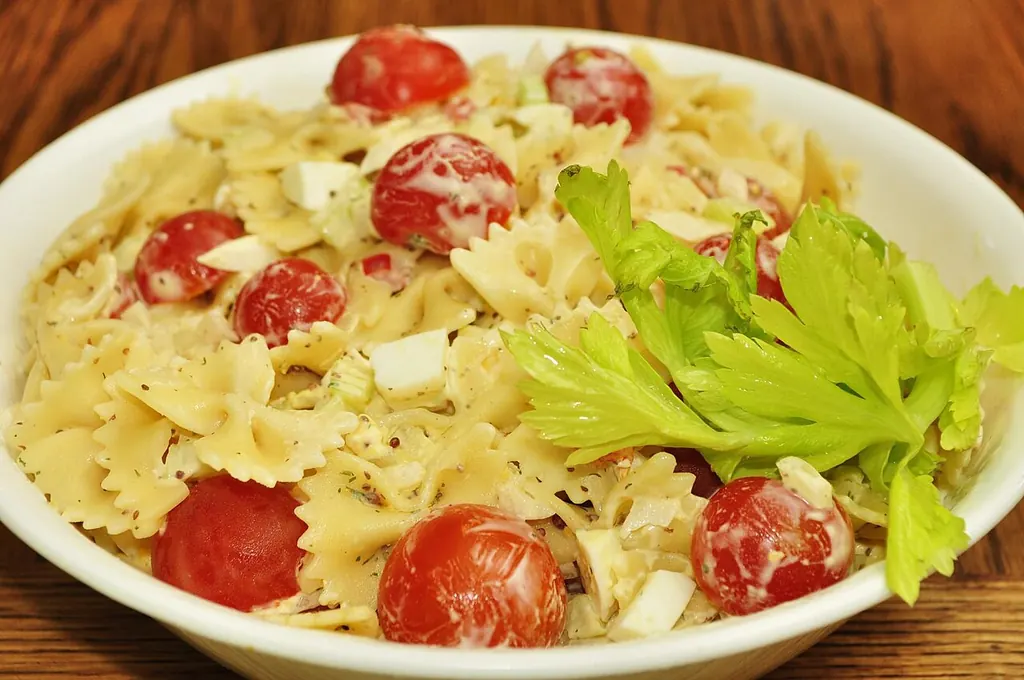
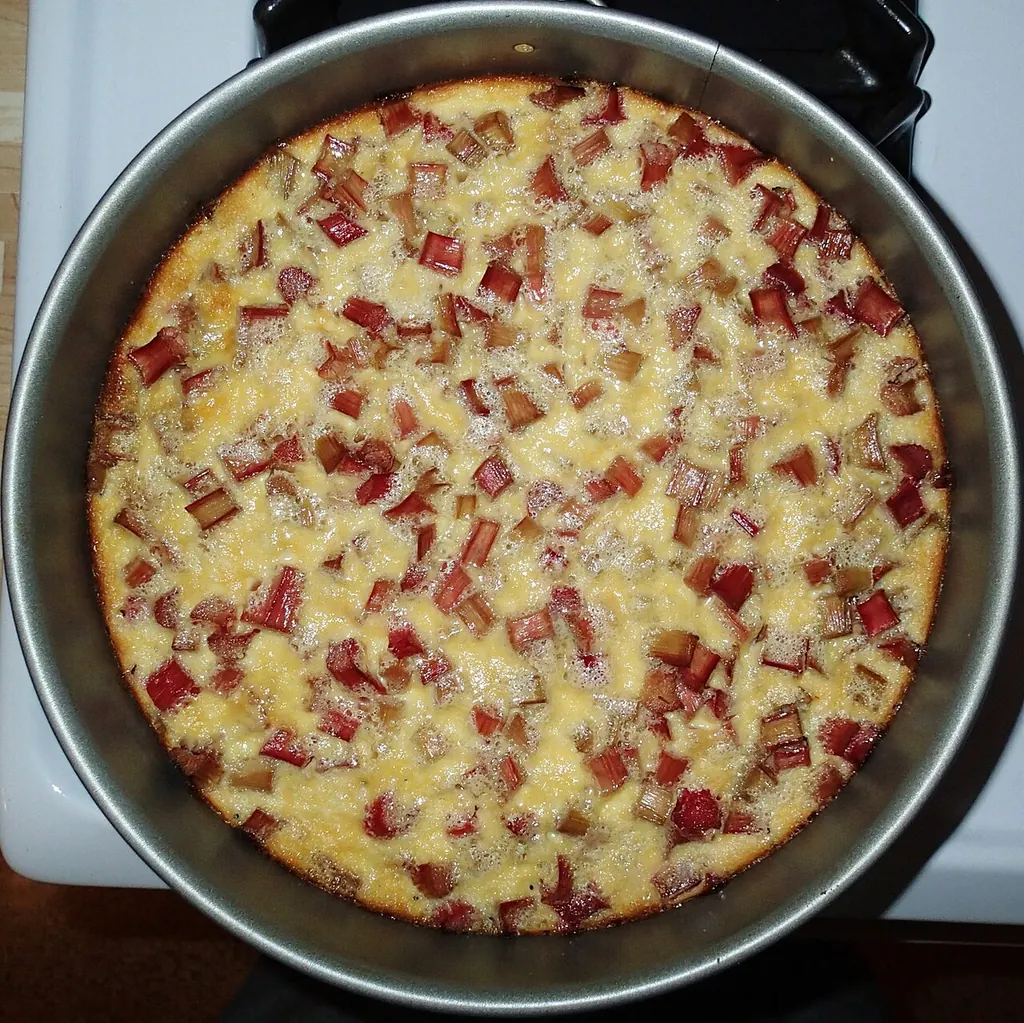
For a relaxed lunch, a small portion of vegetable pasta salad can be prepared separately, although it needs its own chilled storage. If you would rather make a dessert in the oven while organising the table, the rhubarb cake recipe follows a different preparation rhythm.
Store batter and cooked pancakes thoughtfully
Make the batter close to cooking time when possible. If preparing it ahead, cover and refrigerate it promptly, then stir before use. Do not leave an egg-and-milk mixture beside the cooker for an extended afternoon. FDA food-handling guidance sets a two-hour limit for perishable food out of refrigeration, reduced to one hour above 32°C.
Refrigerate leftover cooked pancakes promptly in a covered food container. Separate them from wet fillings so you can warm only the portions needed. For reheating refrigerated leftovers, FoodSafety.gov gives 74°C. Heat evenly and check the centre of a folded or stacked portion rather than only the outside.
If freezing a portion, cool it promptly, place suitable separating sheets between pancakes and label the container. This makes it easier to remove a few without thawing the complete batch. Follow suitable thawing and reheating practices; freezing does not correct earlier poor storage.
Scale the recipe without complicating the morning
For a double batch, double the measured ingredients but keep the cooking portion and pan temperature comparable. The main extra work is the longer cooking time. Make sure there is enough room for the batter and enough cold-storage space before mixing a large quantity.
With children helping, give them a cool work area for measuring, stirring before cooking or arranging fillings. Keep pan handling with the adult responsible for the hob. The guide to rainy-day activities at home includes ways to organise an activity without crowding a single workspace.
After cooking, note the pan, heat setting, approximate amount per pancake and any added water. Those four details are more useful for repeating the result than remembering that the batter looked “about right”. Keep the ingredient quantities as a stable starting point and make the next adjustment for a clear reason.